Tzatziki
Learn how to make authentic tzatziki, the cool and creamy Greek cucumber yogurt sauce with garlic and dill. This refreshing dip is perfect with grilled meats, pita bread, or as a mezze spread!
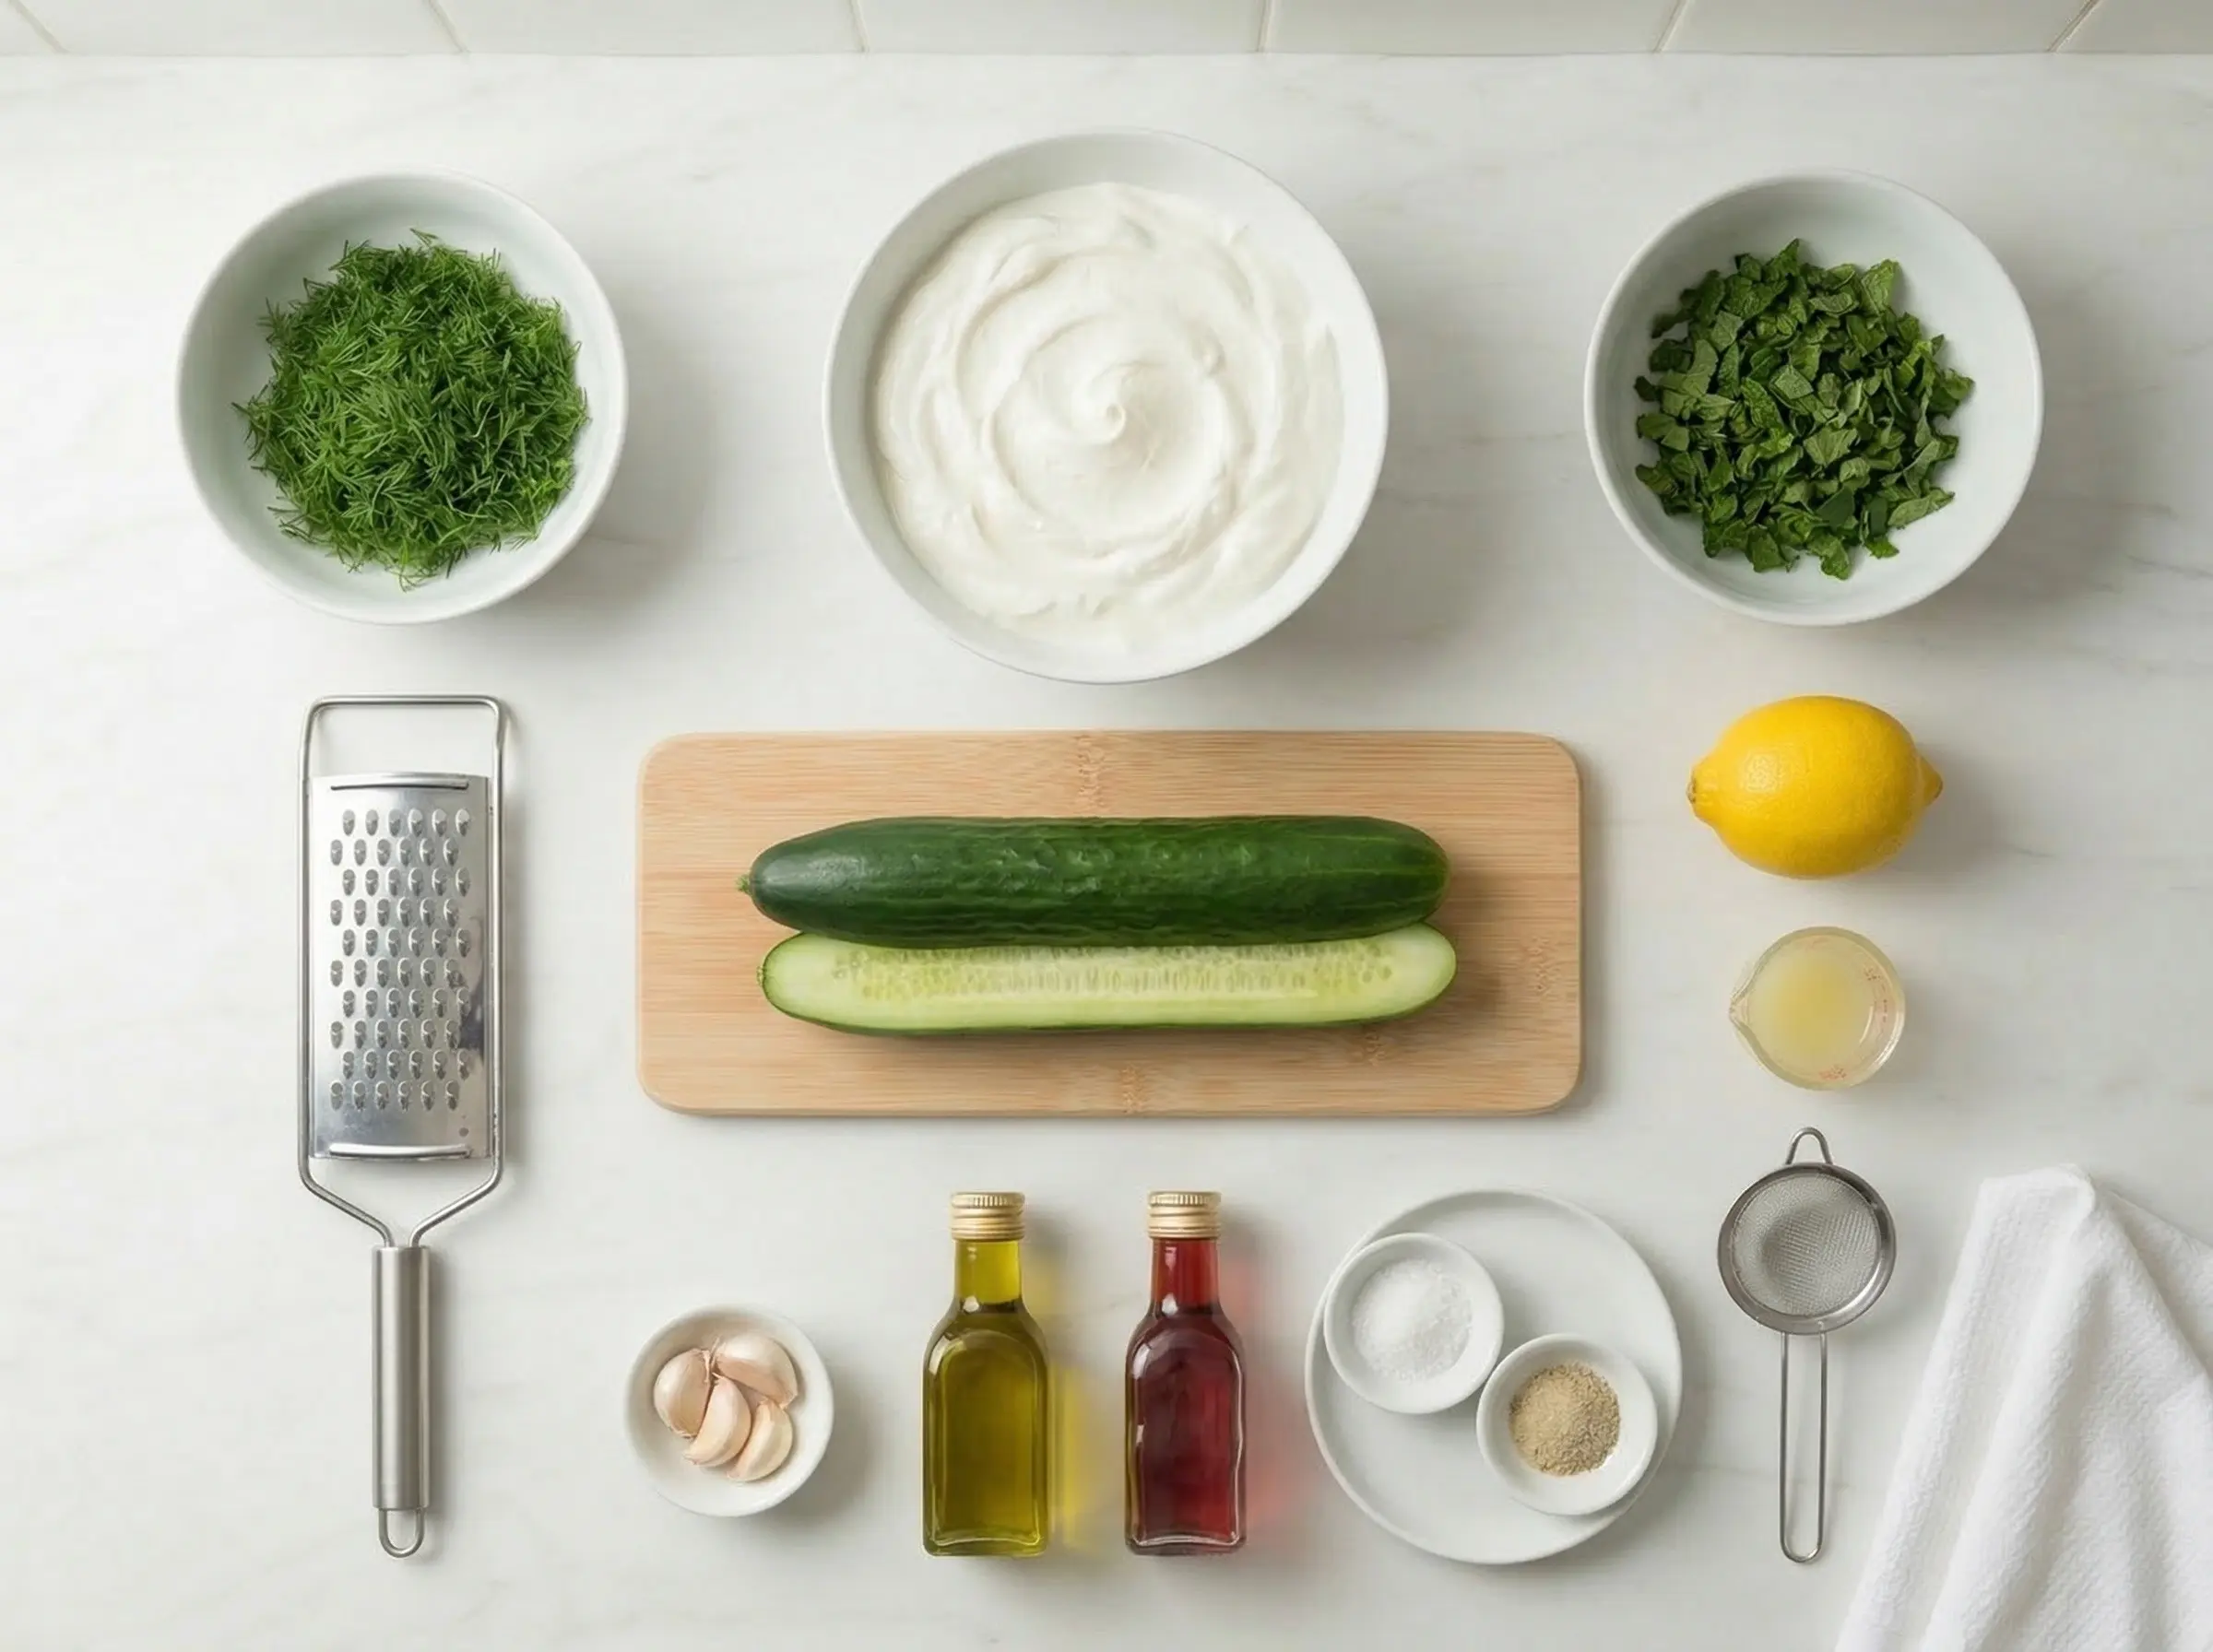
Ingredients
The Story
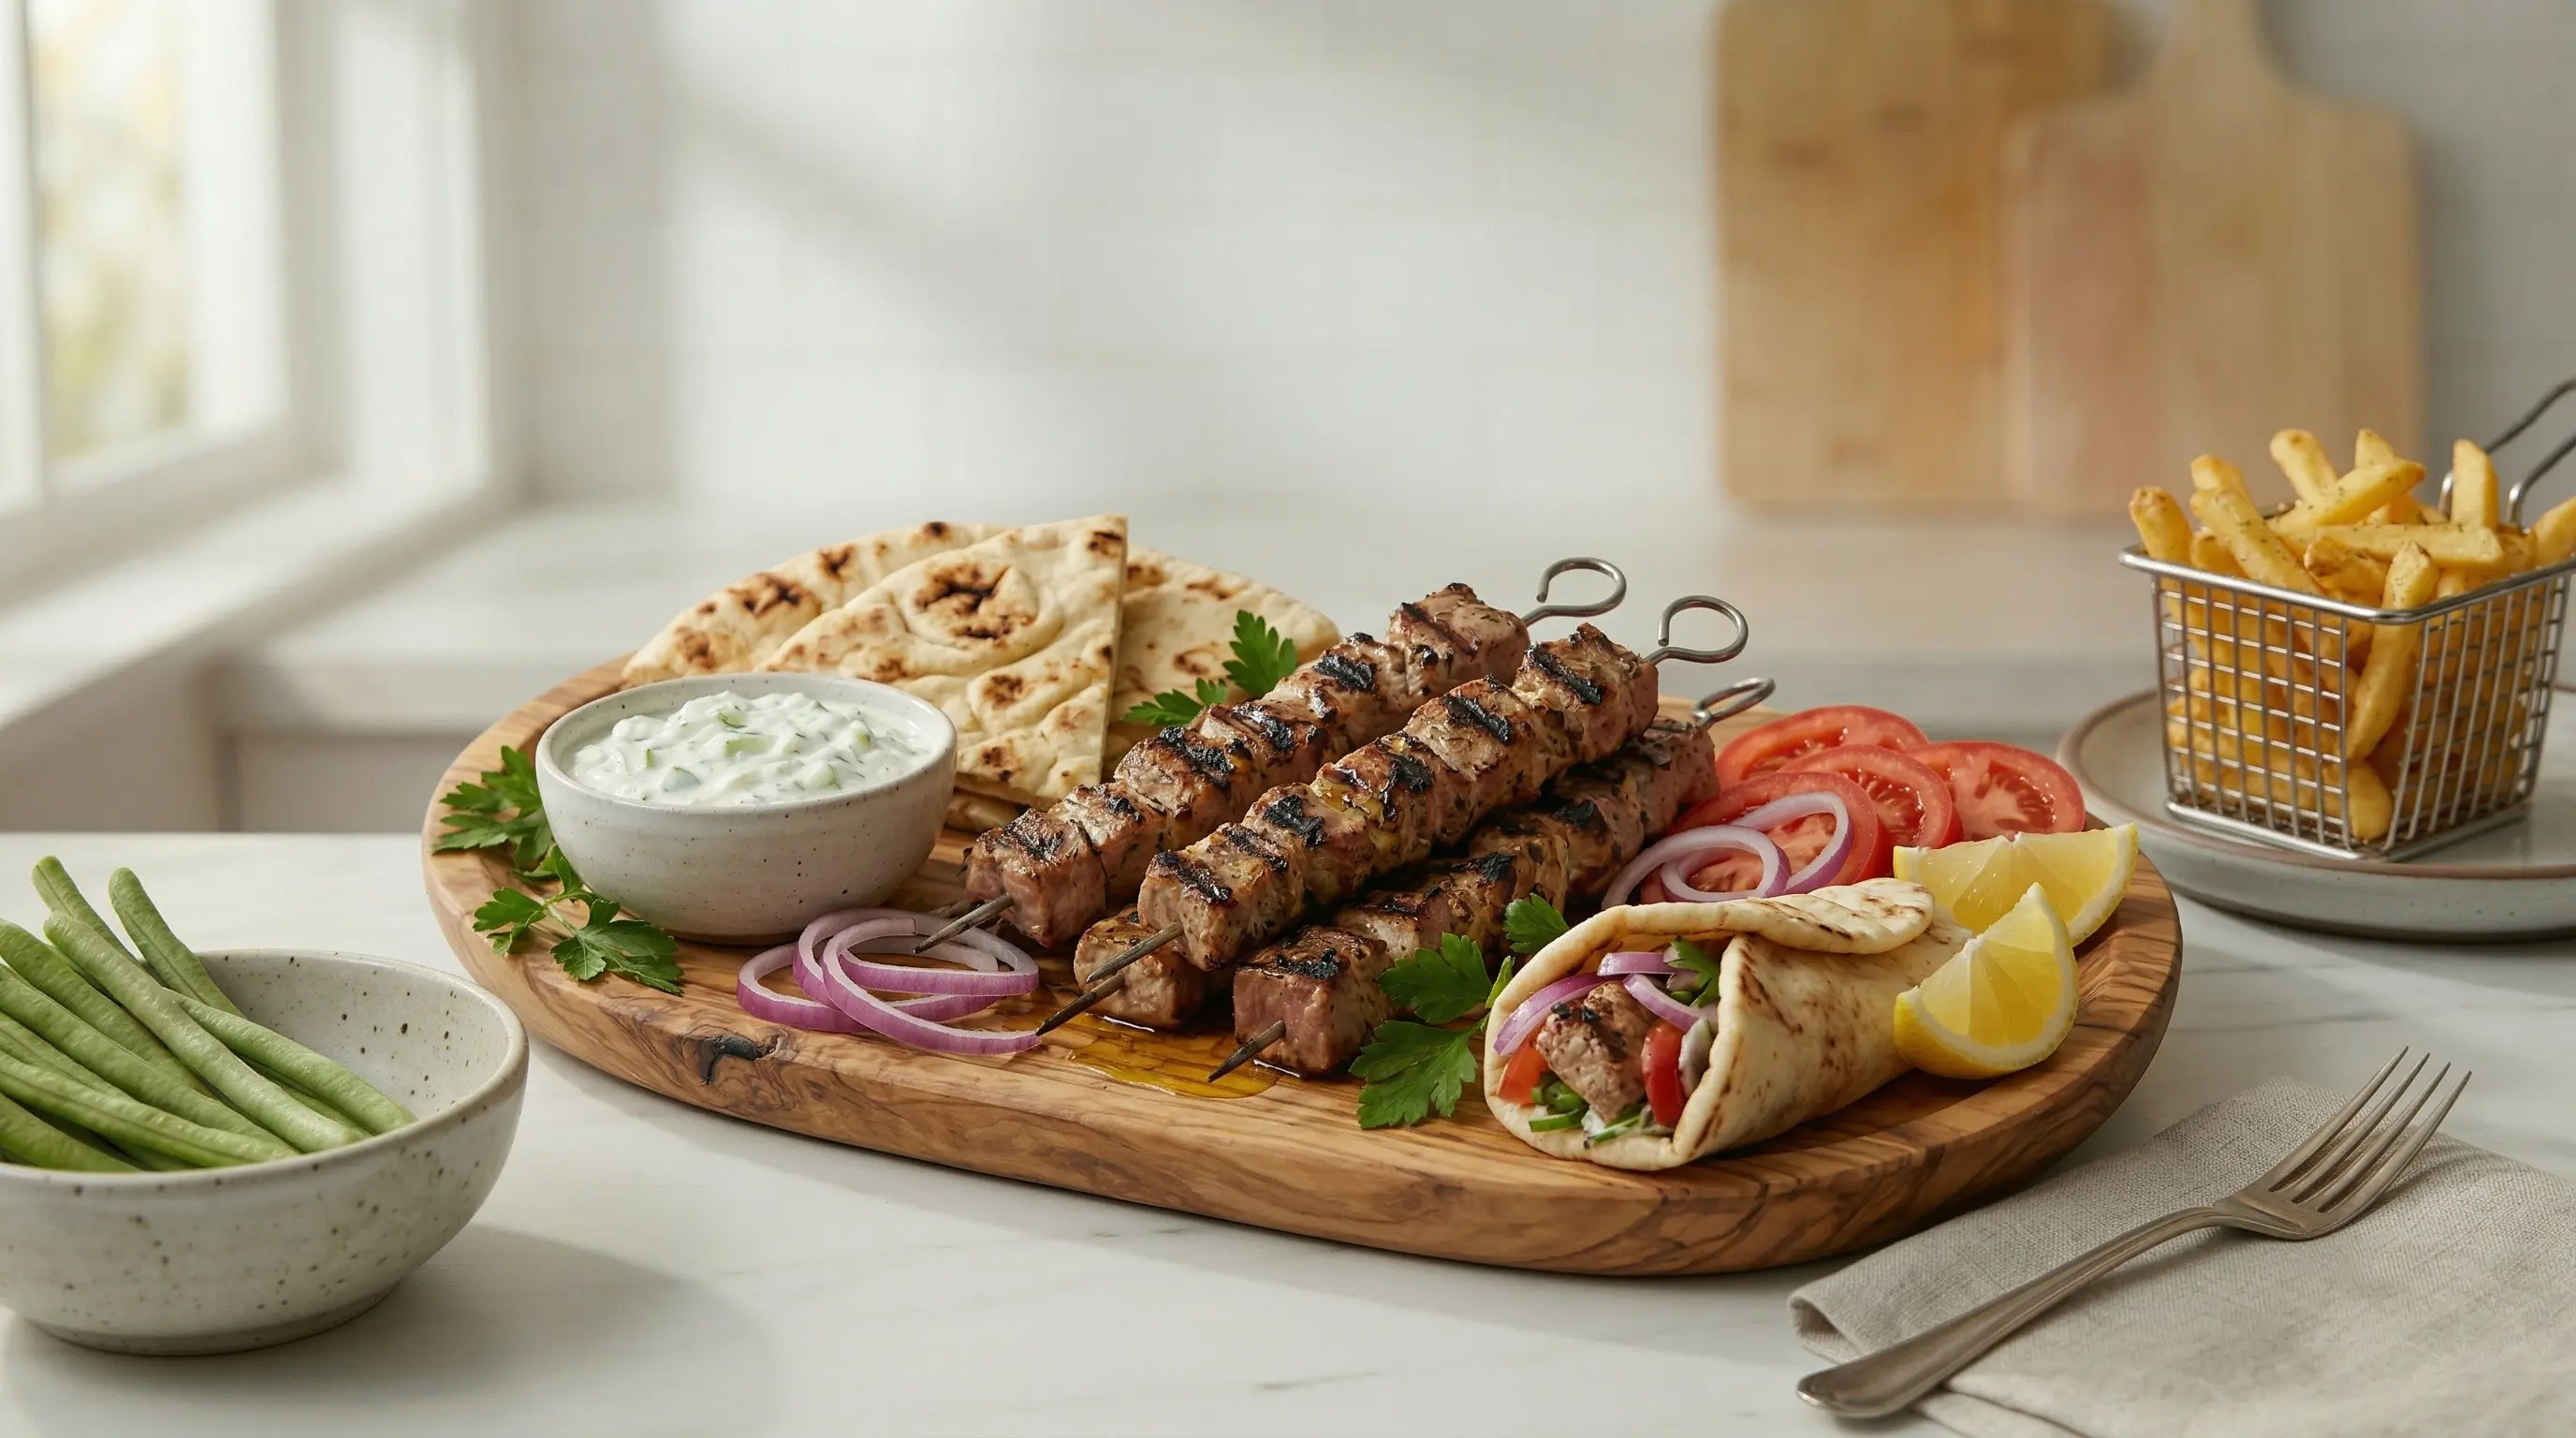
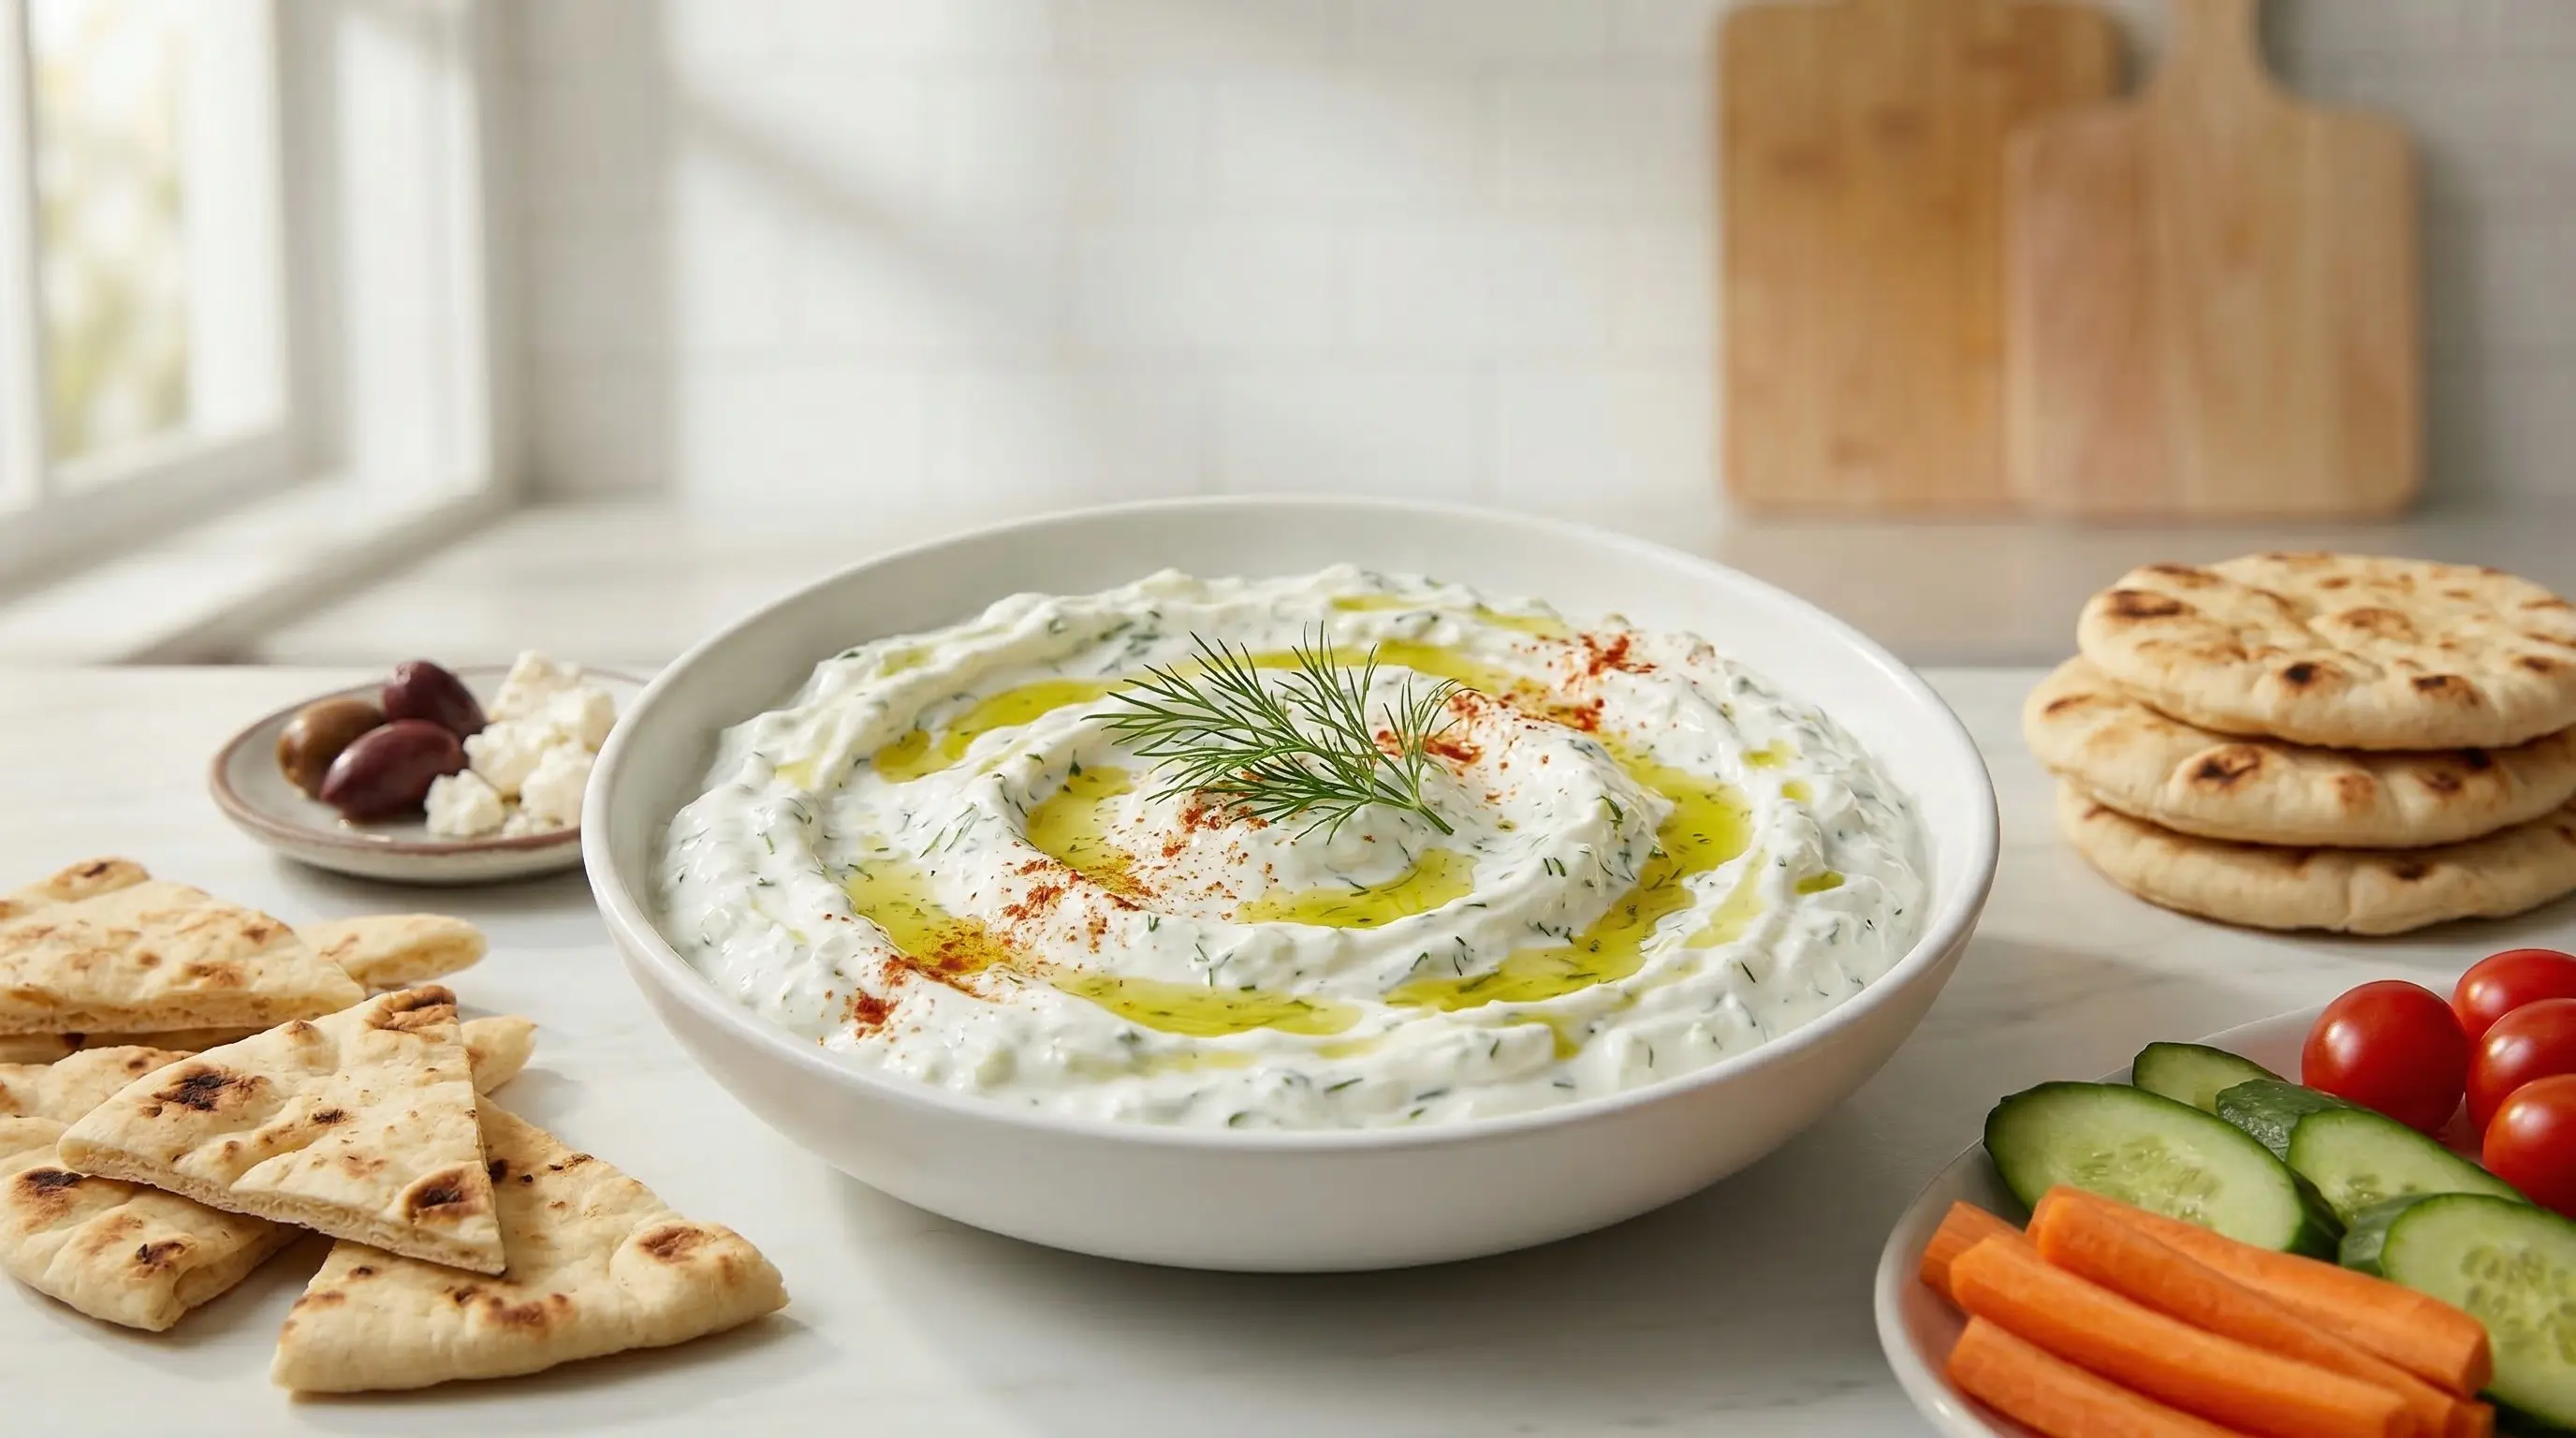
Tzatziki is one of the most beloved sauces in Greek cuisine, a cool, creamy blend of thick yogurt, cucumber, garlic, and herbs that appears on nearly every Greek table. The name comes from the Turkish "cacık," a similar yogurt-cucumber preparation that spread throughout the Ottoman Empire and took on regional variations across Greece, Turkey, Cyprus, and the Balkans. While the Turkish version is typically thinner and served as a cold soup, Greek tzatziki is thick and rich, meant as a dip or sauce. The dish has ancient roots in the broader tradition of yogurt-based sauces found throughout the Eastern Mediterranean and Middle East, where yogurt has been a culinary staple for thousands of years. In Greece, tzatziki is inseparable from the summer dining experience. It appears as a standard component of mezze spreads alongside taramasalata, melitzanosalata, and feta cheese. It is the essential accompaniment to souvlaki and gyros, providing cool contrast to hot grilled meats. It is served with warm pita bread, drizzled over grilled lamb chops, spooned onto baked potatoes, and eaten simply with a piece of crusty bread. The sauce is so integral to Greek cuisine that it has become one of the country's most recognized culinary exports, found on Greek restaurant menus from Athens to New York to Sydney. For Greeks, a meal without tzatziki is often considered incomplete. What makes tzatziki so extraordinary is the way simple ingredients combine to create something greater than the sum of its parts. The foundation is thick, tangy Greek yogurt - strained to remove whey and achieve that luxurious, creamy consistency. Fresh cucumber provides cool crunch and vegetal freshness, but only if properly prepared - the excess water must be extracted or it will make the tzatziki thin and watery. Garlic adds pungent bite that mellows as the sauce rests. Fresh dill contributes its distinctive anise-like herbaceousness, while a drizzle of good olive oil adds richness and a squeeze of lemon brightens everything. The finished tzatziki should be thick enough to hold its shape on a spoon, intensely garlicky, cool and refreshing, with visible flecks of cucumber and dill throughout. It is the taste of Greek summer, the perfect antidote to hot weather and grilled meats.
Instructions
Step 1
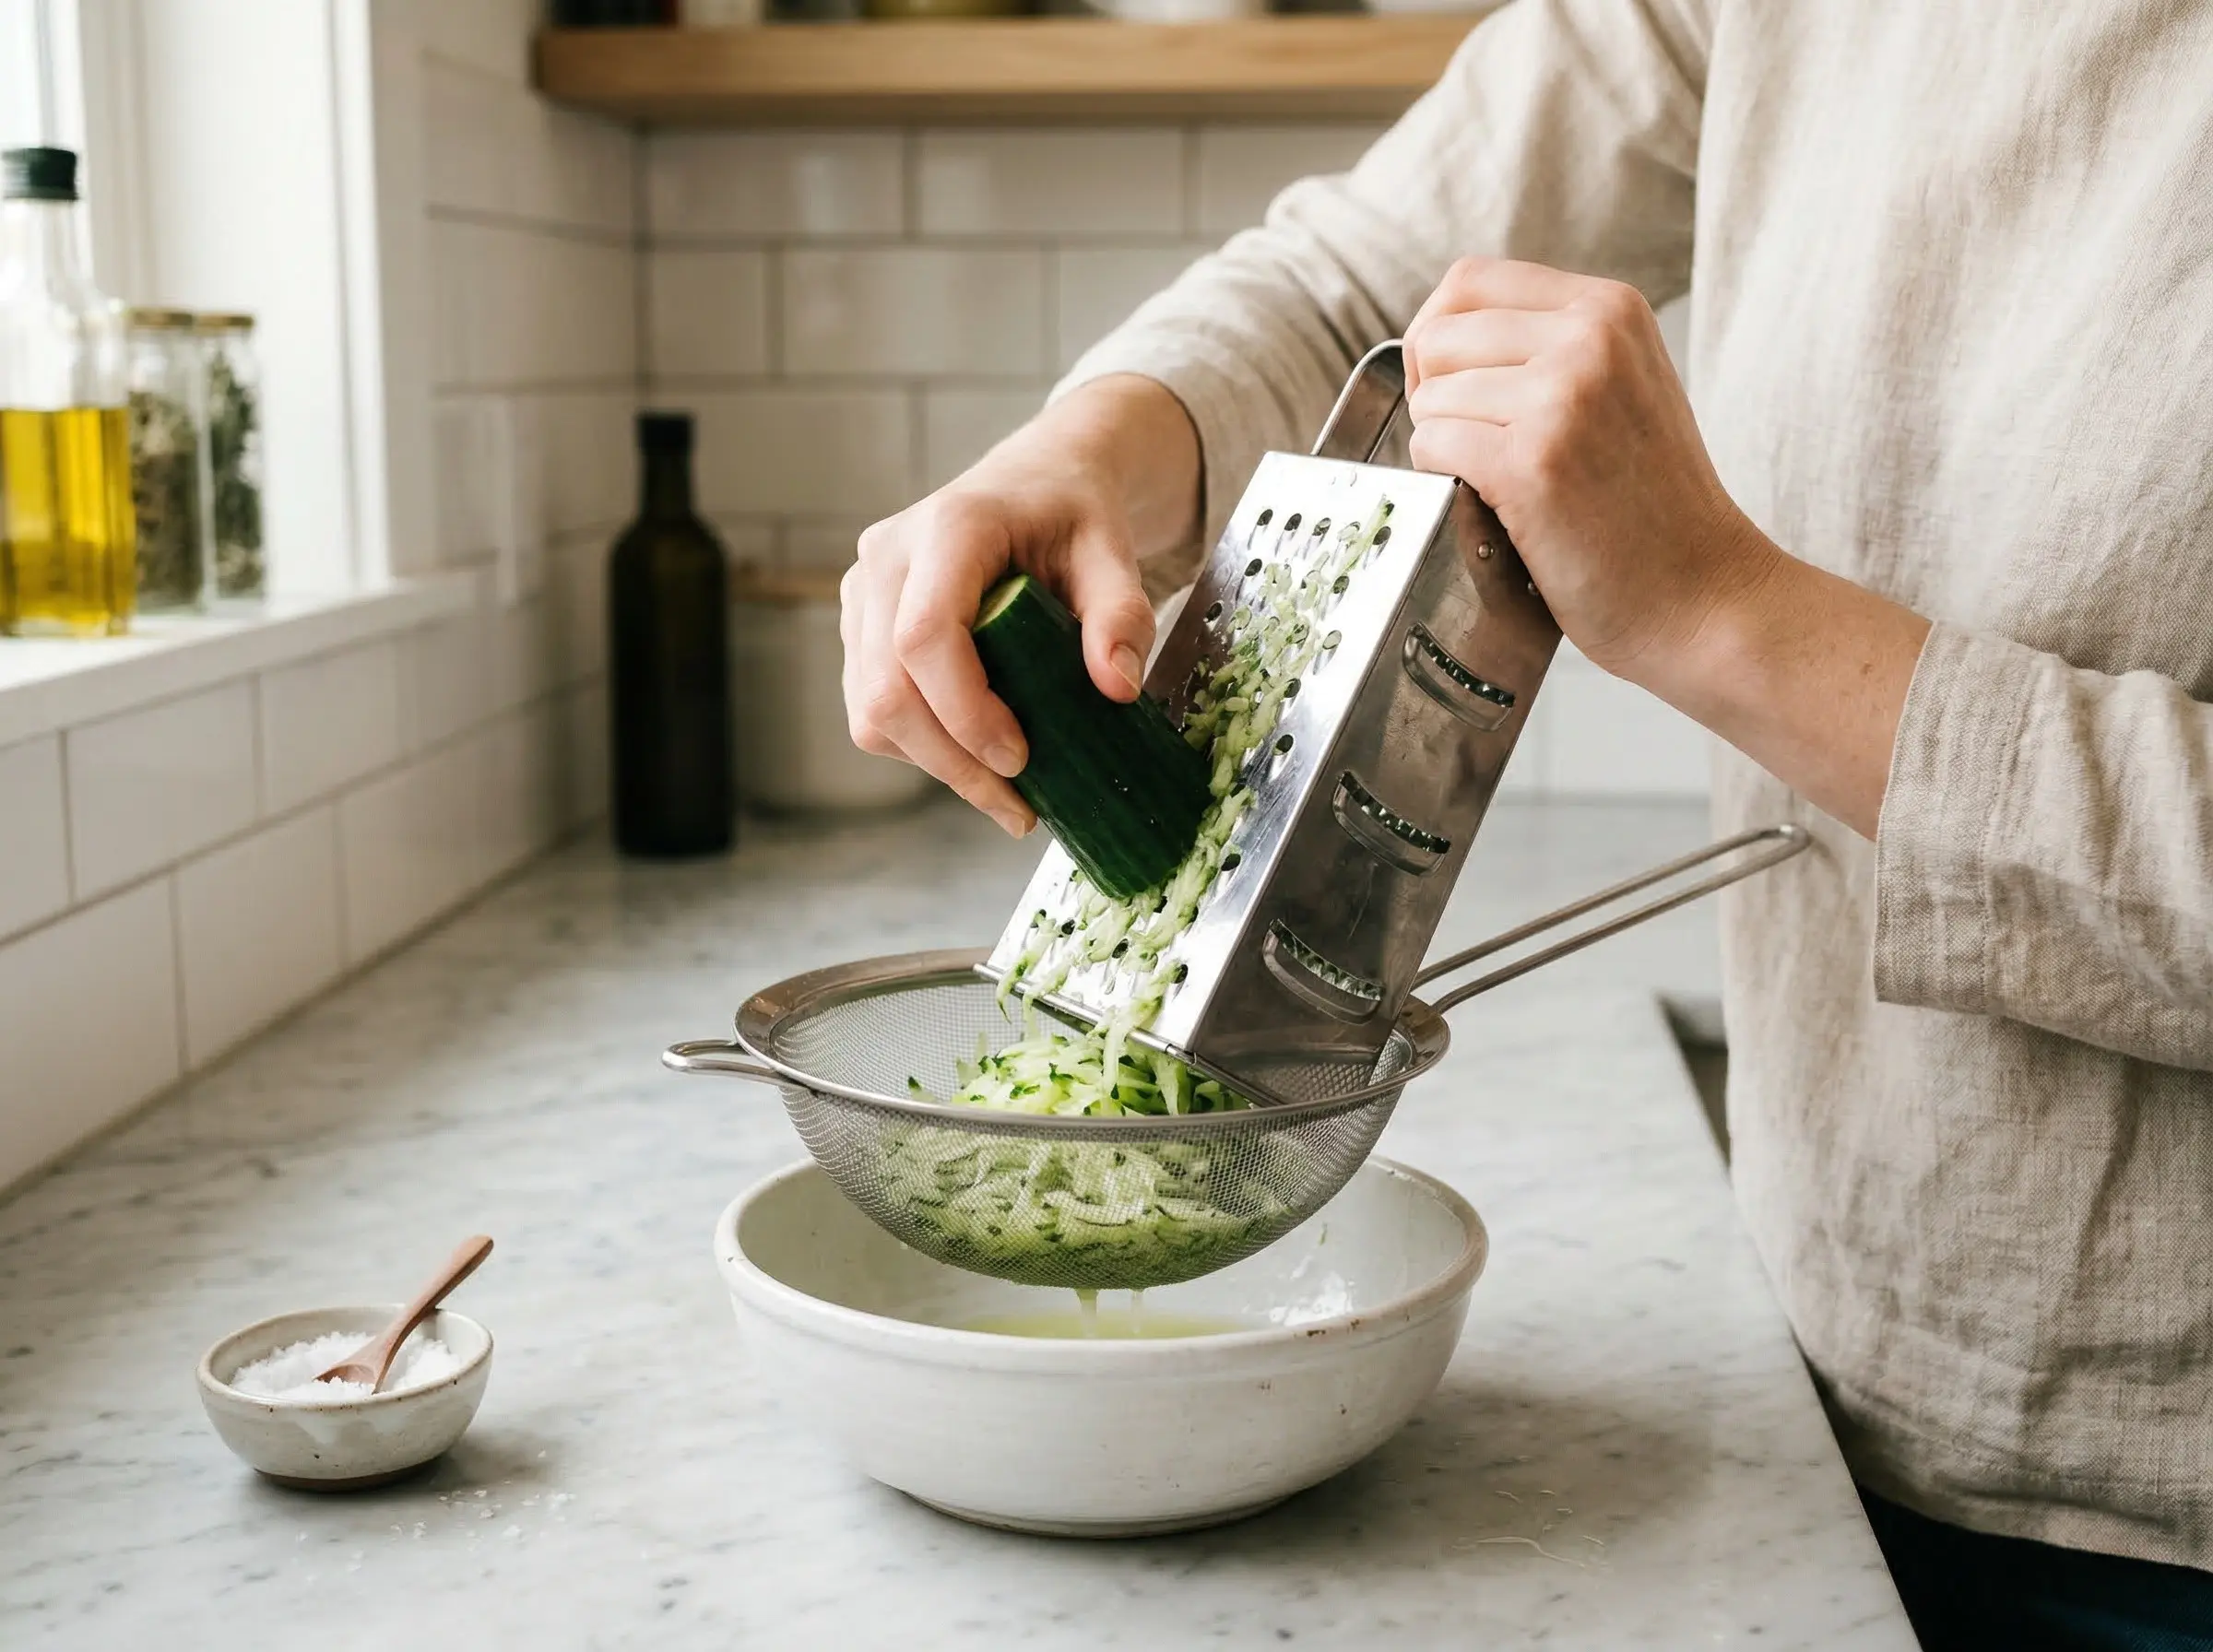
Prepare the cucumber - this is the most important step for proper tzatziki. If using English cucumber, you do not need to peel it; if using regular cucumbers, peel them and scoop out the watery seeds with a spoon. Grate the cucumber on the large holes of a box grater, or finely dice if you prefer more texture. Place the grated cucumber in a fine-mesh strainer set over a bowl. Sprinkle with 1/2 teaspoon of the salt and toss to combine. Let drain for at least 15-20 minutes - the salt draws out moisture.
Step 2
Squeeze out all excess moisture. This step is crucial and cannot be rushed. After the cucumber has drained, transfer it to a clean kitchen towel or several layers of cheesecloth. Gather the towel into a bundle and squeeze firmly over the sink, wringing and twisting until no more liquid drips out. You will be amazed at how much water comes out - sometimes up to half a cup. Wet cucumber is the number one cause of thin, watery tzatziki. The squeezed cucumber should feel relatively dry to the touch.
Step 3
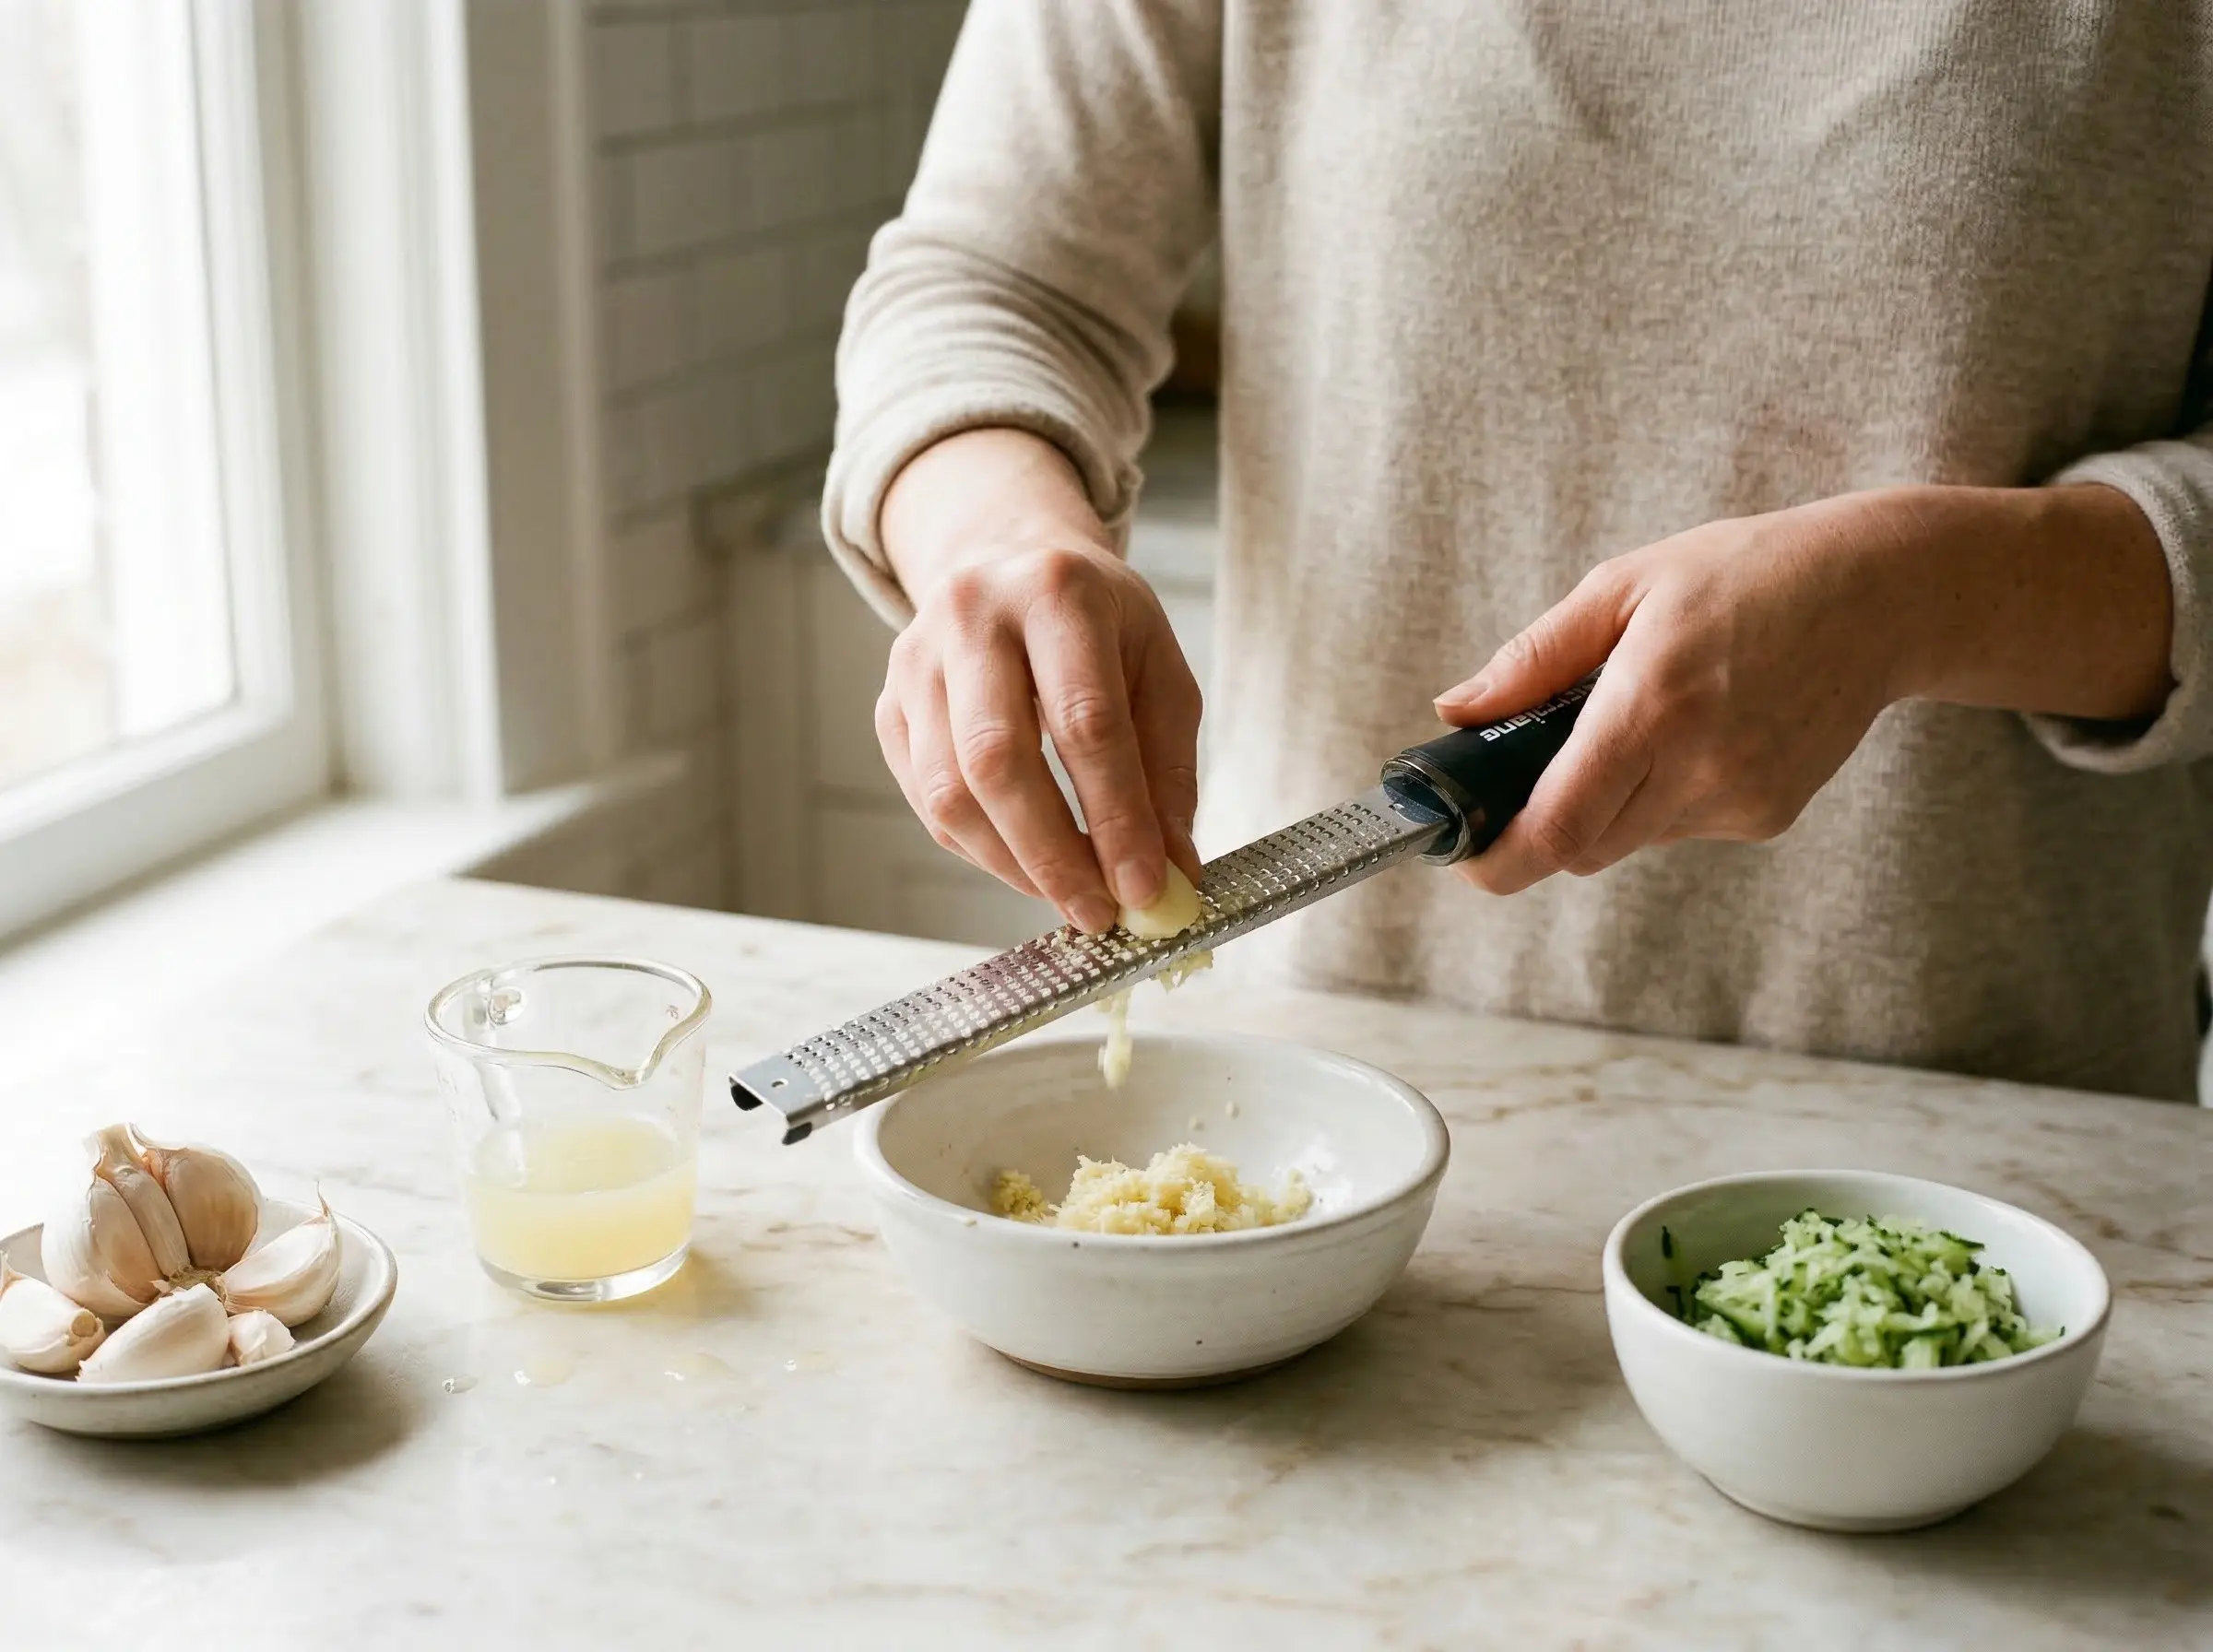
Prepare the garlic. For the smoothest tzatziki, grate the garlic on a Microplane or the fine holes of a box grater rather than mincing. Grated garlic distributes more evenly and creates a smoother texture. For a milder garlic flavor, you can let the minced garlic sit in the lemon juice for 10 minutes before adding to the yogurt - the acid mellows the raw garlic bite. For stronger garlic flavor, add it directly. Greek tzatziki is traditionally quite garlicky, so do not be shy.
Step 4
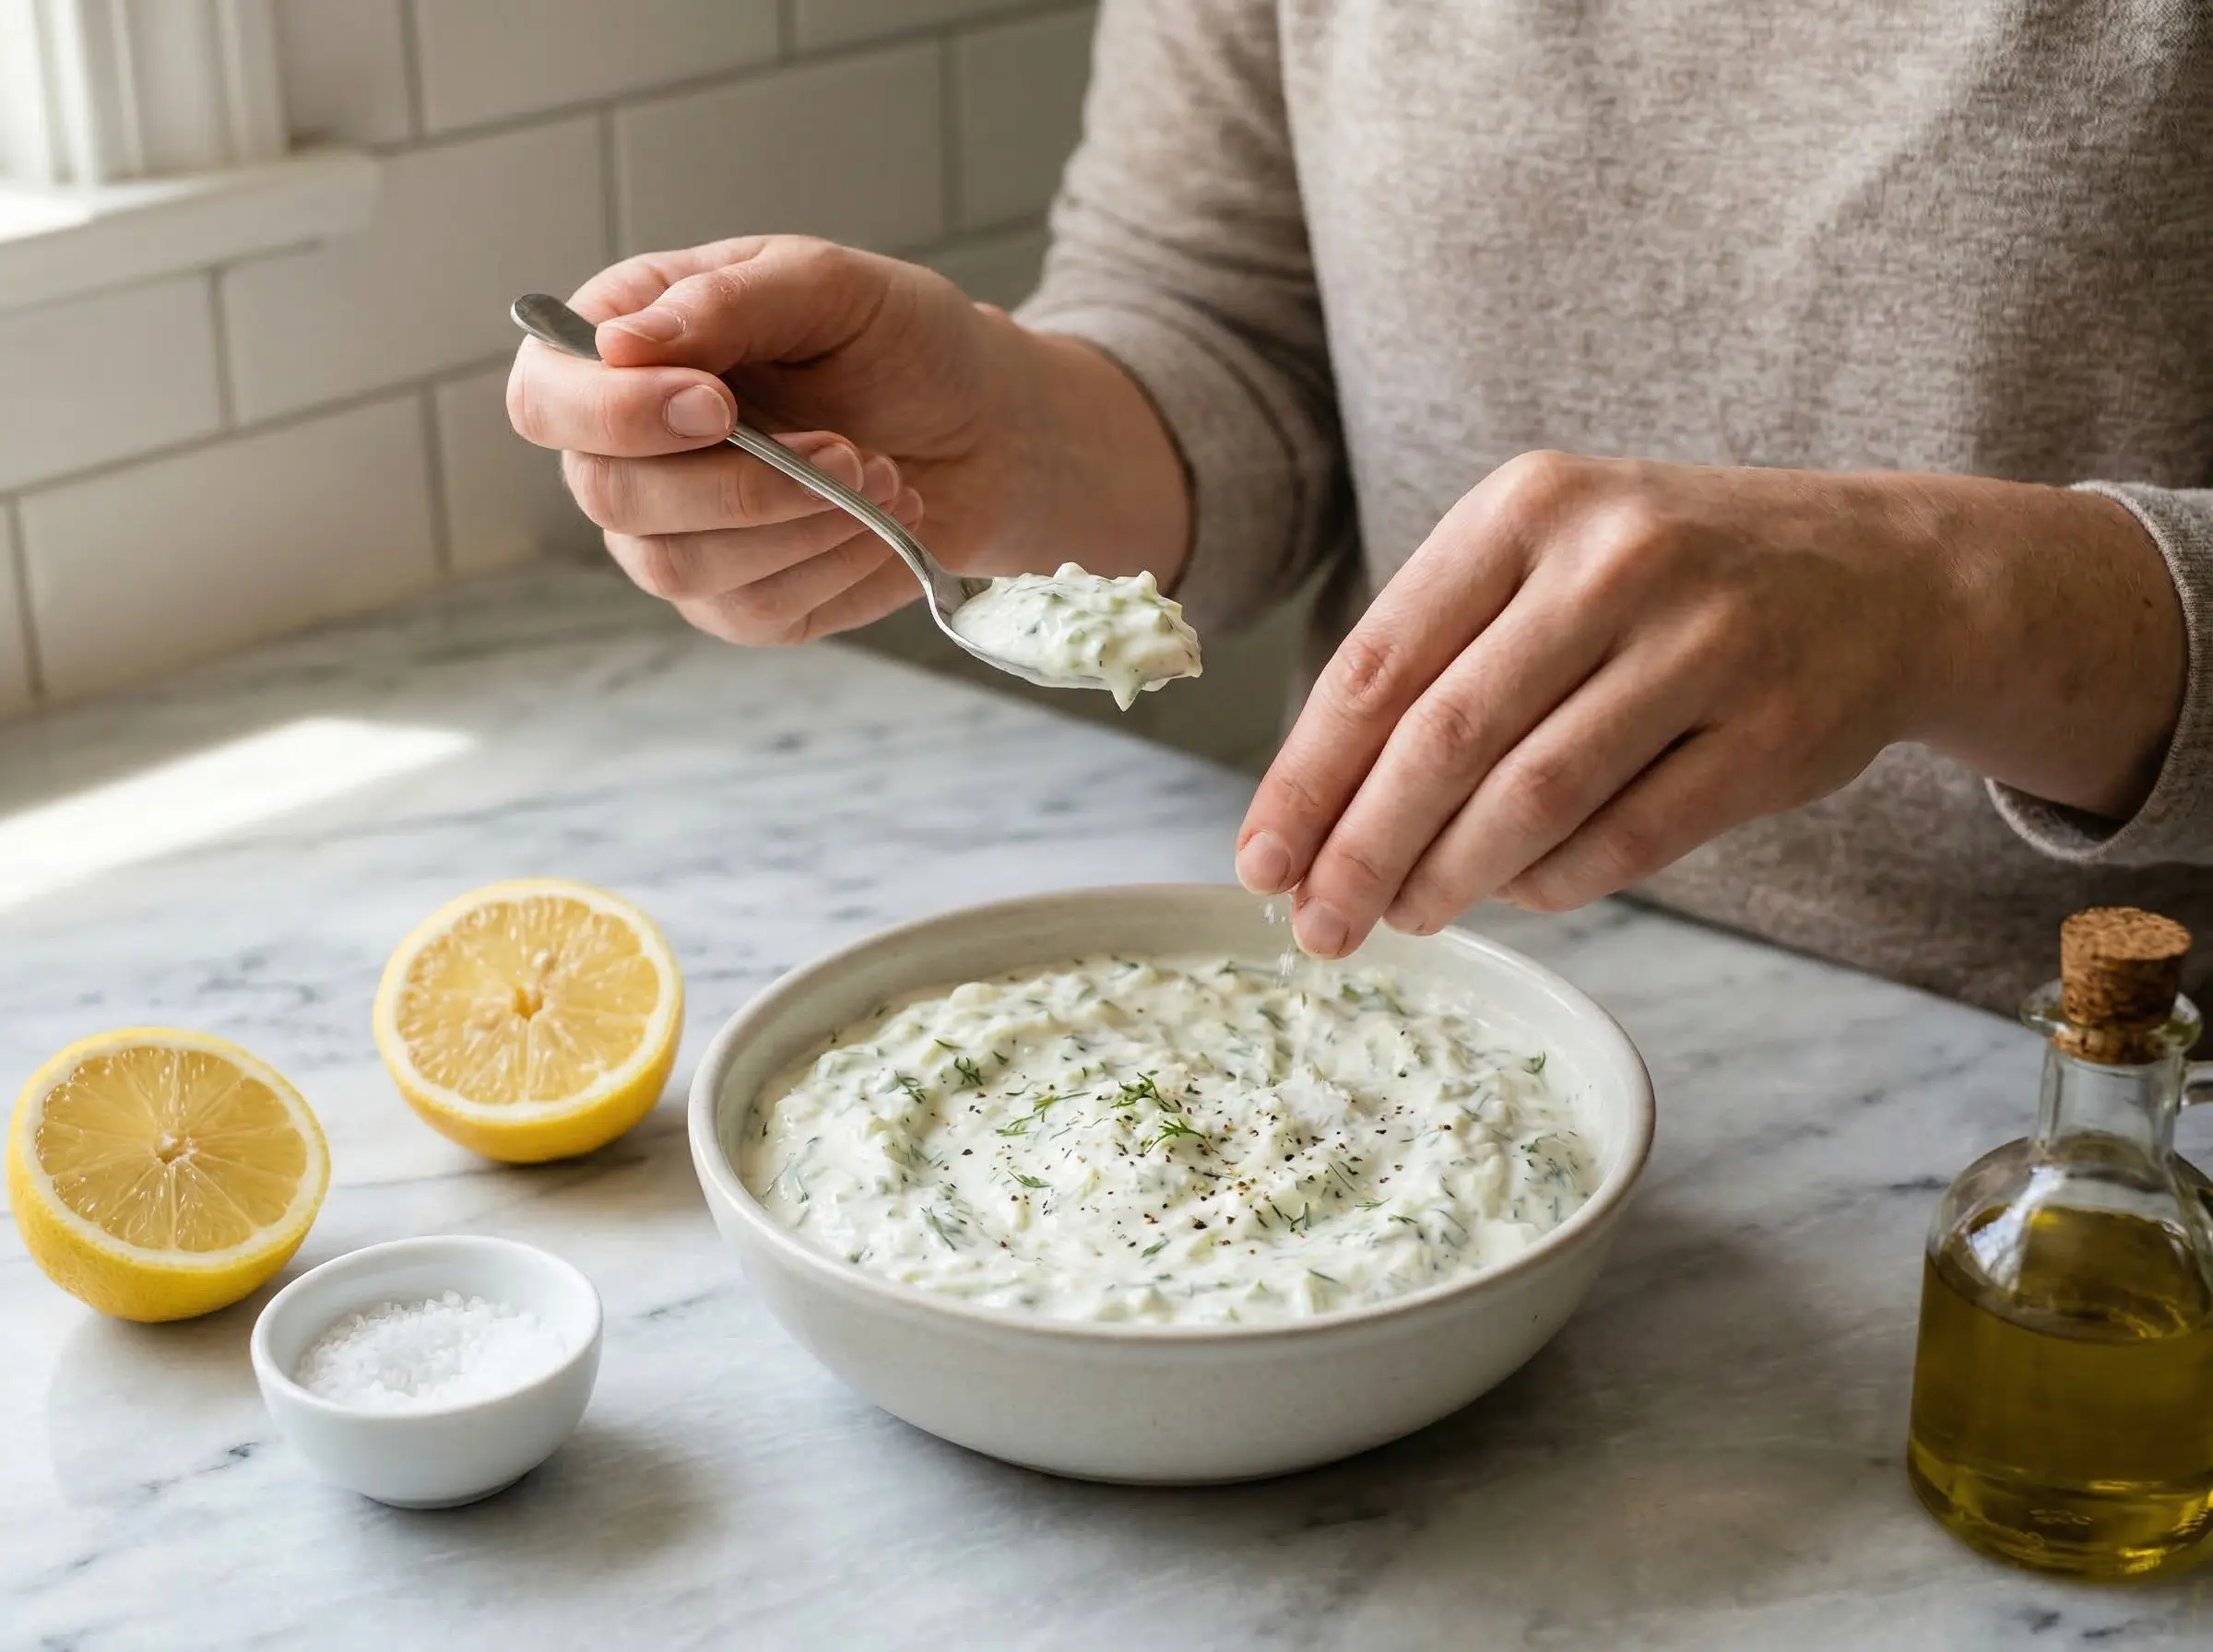
Combine all ingredients. In a medium bowl, add the Greek yogurt. Add the squeezed cucumber, prepared garlic, olive oil, lemon juice, remaining 1/2 teaspoon salt, and white pepper. If using, add the red wine vinegar - it adds a subtle tanginess that some traditional recipes include. Stir everything together until thoroughly combined. Fold in the chopped fresh dill and mint if using. The tzatziki should be thick, creamy, and well-speckled with cucumber and herbs.
Step 5
Taste and adjust. This is essential - tzatziki ingredients vary in intensity, so always taste and adjust. You may need more salt to bring out the flavors, more lemon juice for brightness, more garlic for punch, or more olive oil for richness. The flavor should be tangy, garlicky, herbaceous, and refreshing. Remember that the garlic flavor will intensify as the tzatziki rests, so if eating immediately, you may want slightly more garlic than if making ahead.
Step 6
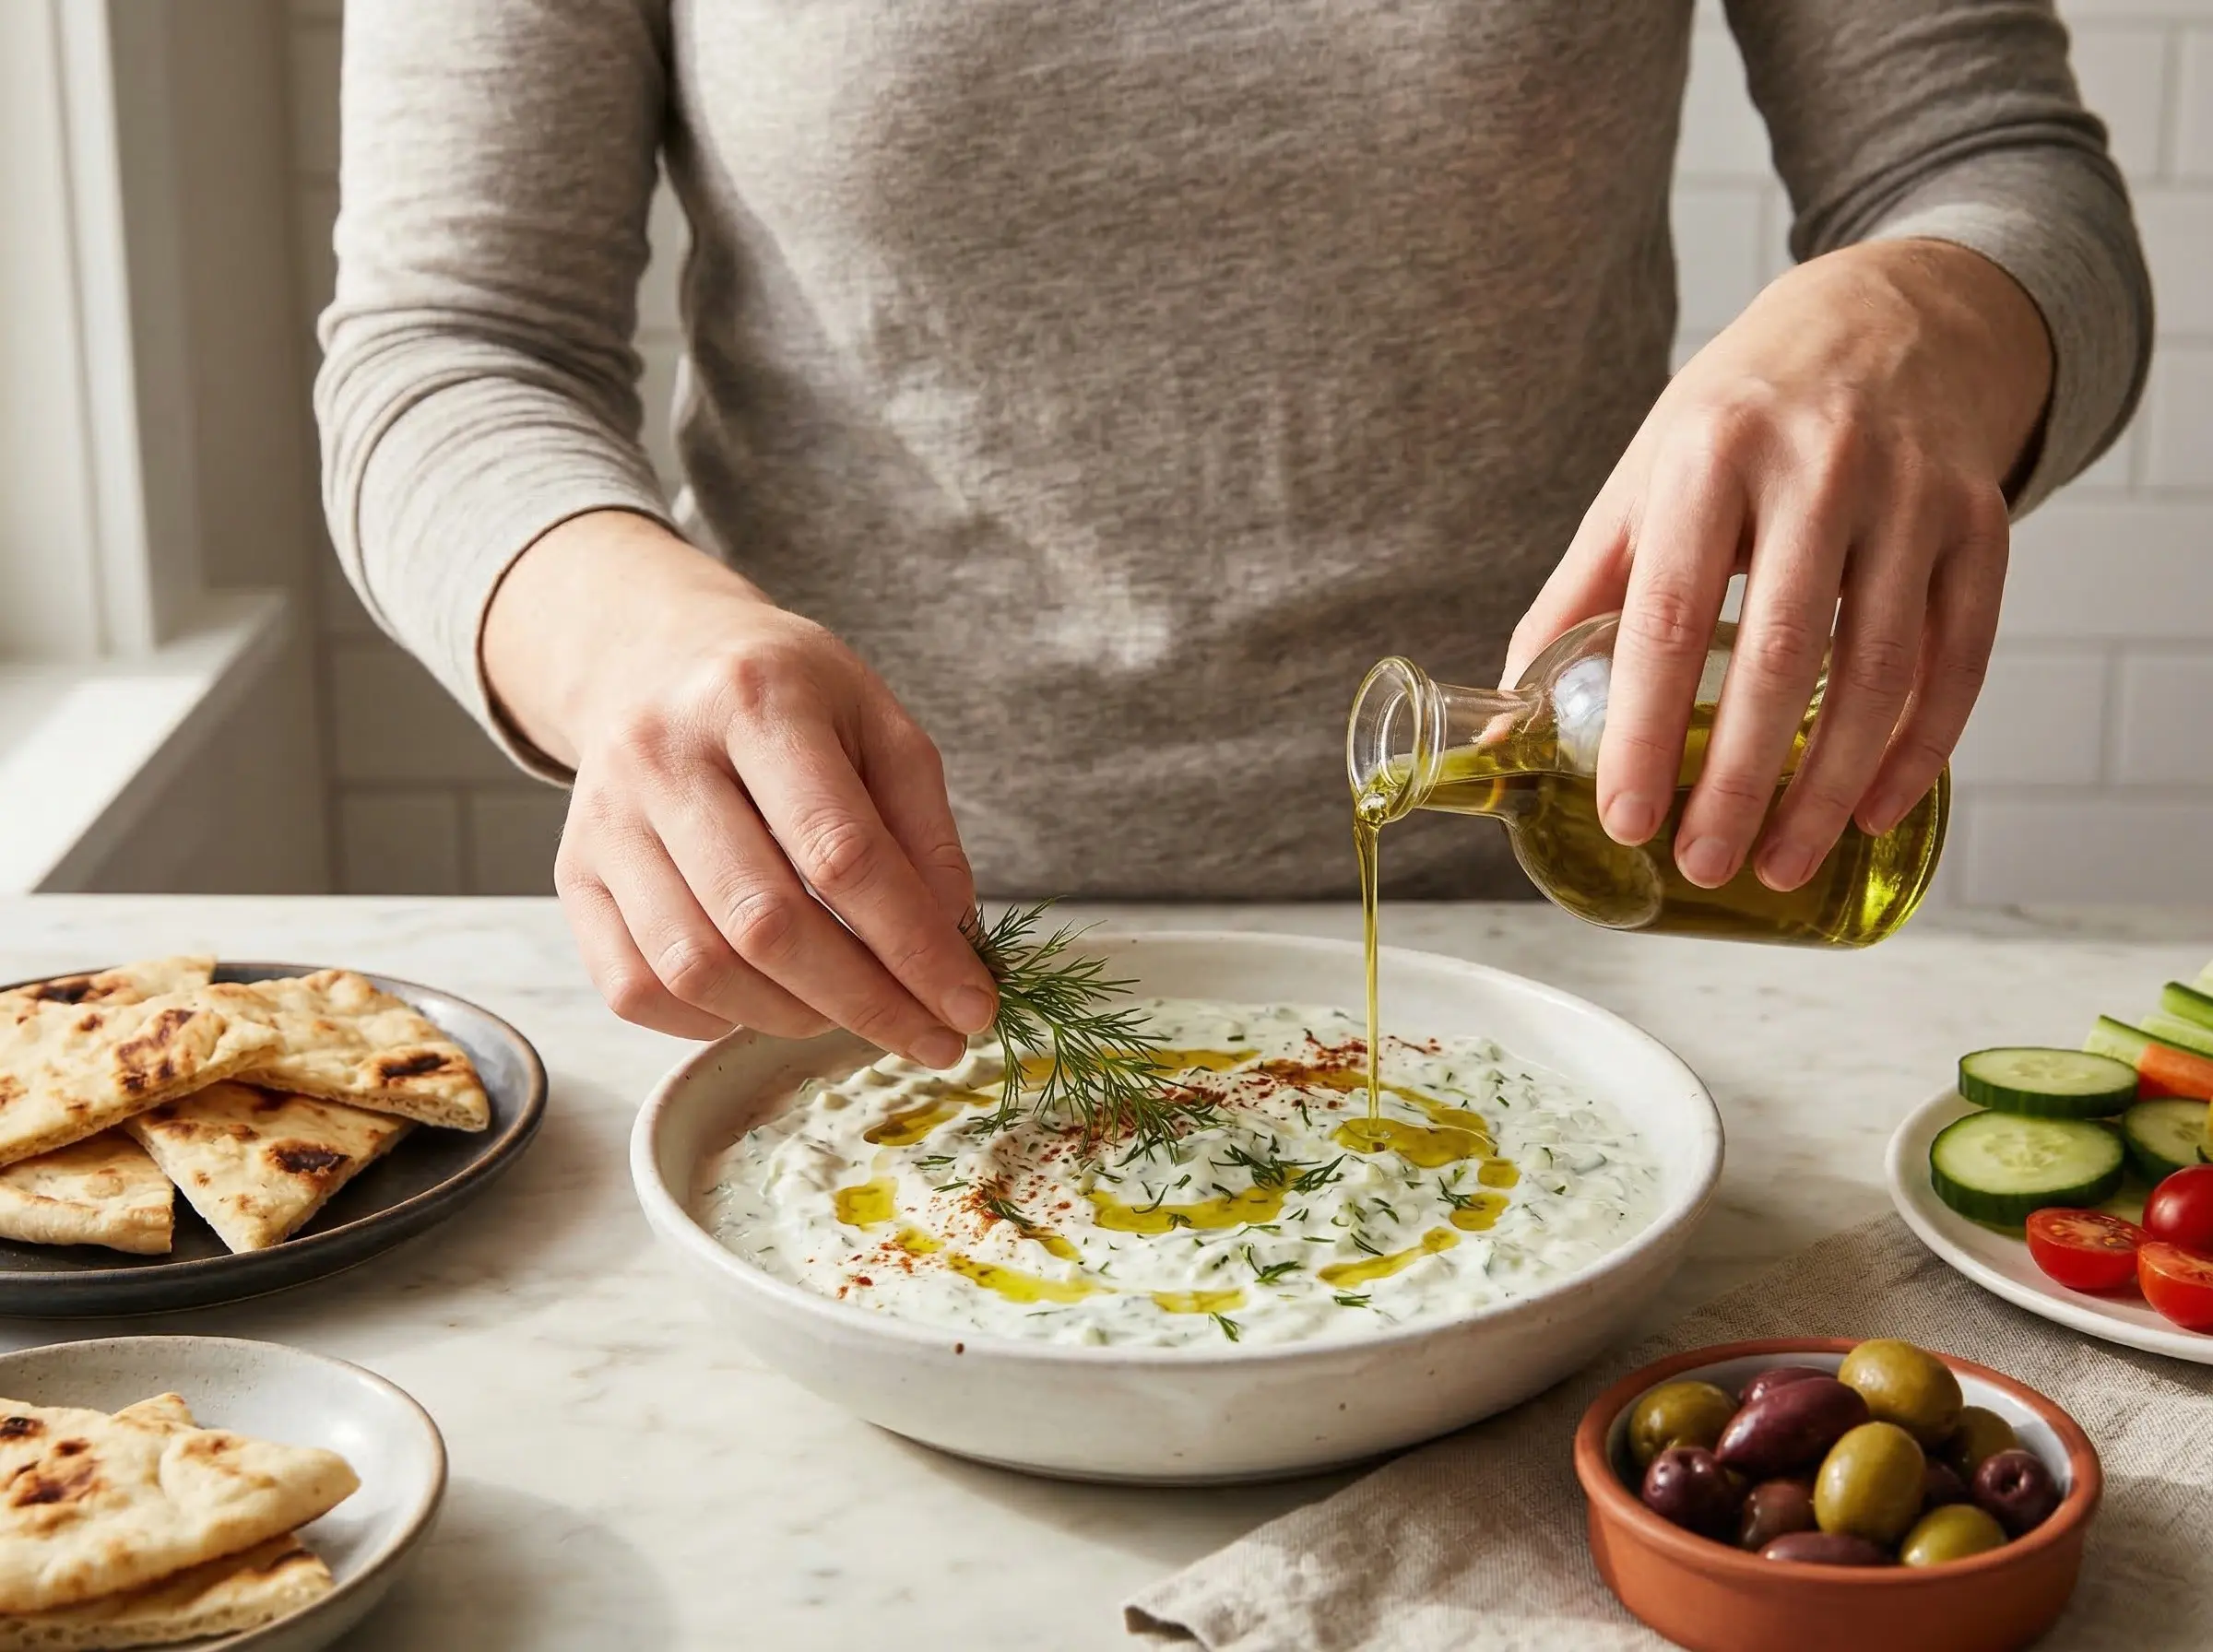
Rest and serve. Cover and refrigerate the tzatziki for at least 30 minutes before serving, or preferably several hours or overnight. This resting time allows the flavors to meld and develop - the garlic will permeate the yogurt, the herbs will release their oils, and the overall taste will become more harmonious. To serve, transfer to a shallow bowl, drizzle generously with extra virgin olive oil, and garnish with a sprig of fresh dill and a light sprinkle of paprika if desired. Serve with warm pita bread, alongside grilled meats like souvlaki or gyros, with fresh vegetables for dipping, or as part of a mezze spread. Tzatziki keeps refrigerated for up to 5 days, though it is best within the first 2-3 days before the garlic becomes overpowering. If it thins out from the cucumber releasing more liquid, simply stir well before serving.
You Might Also Like