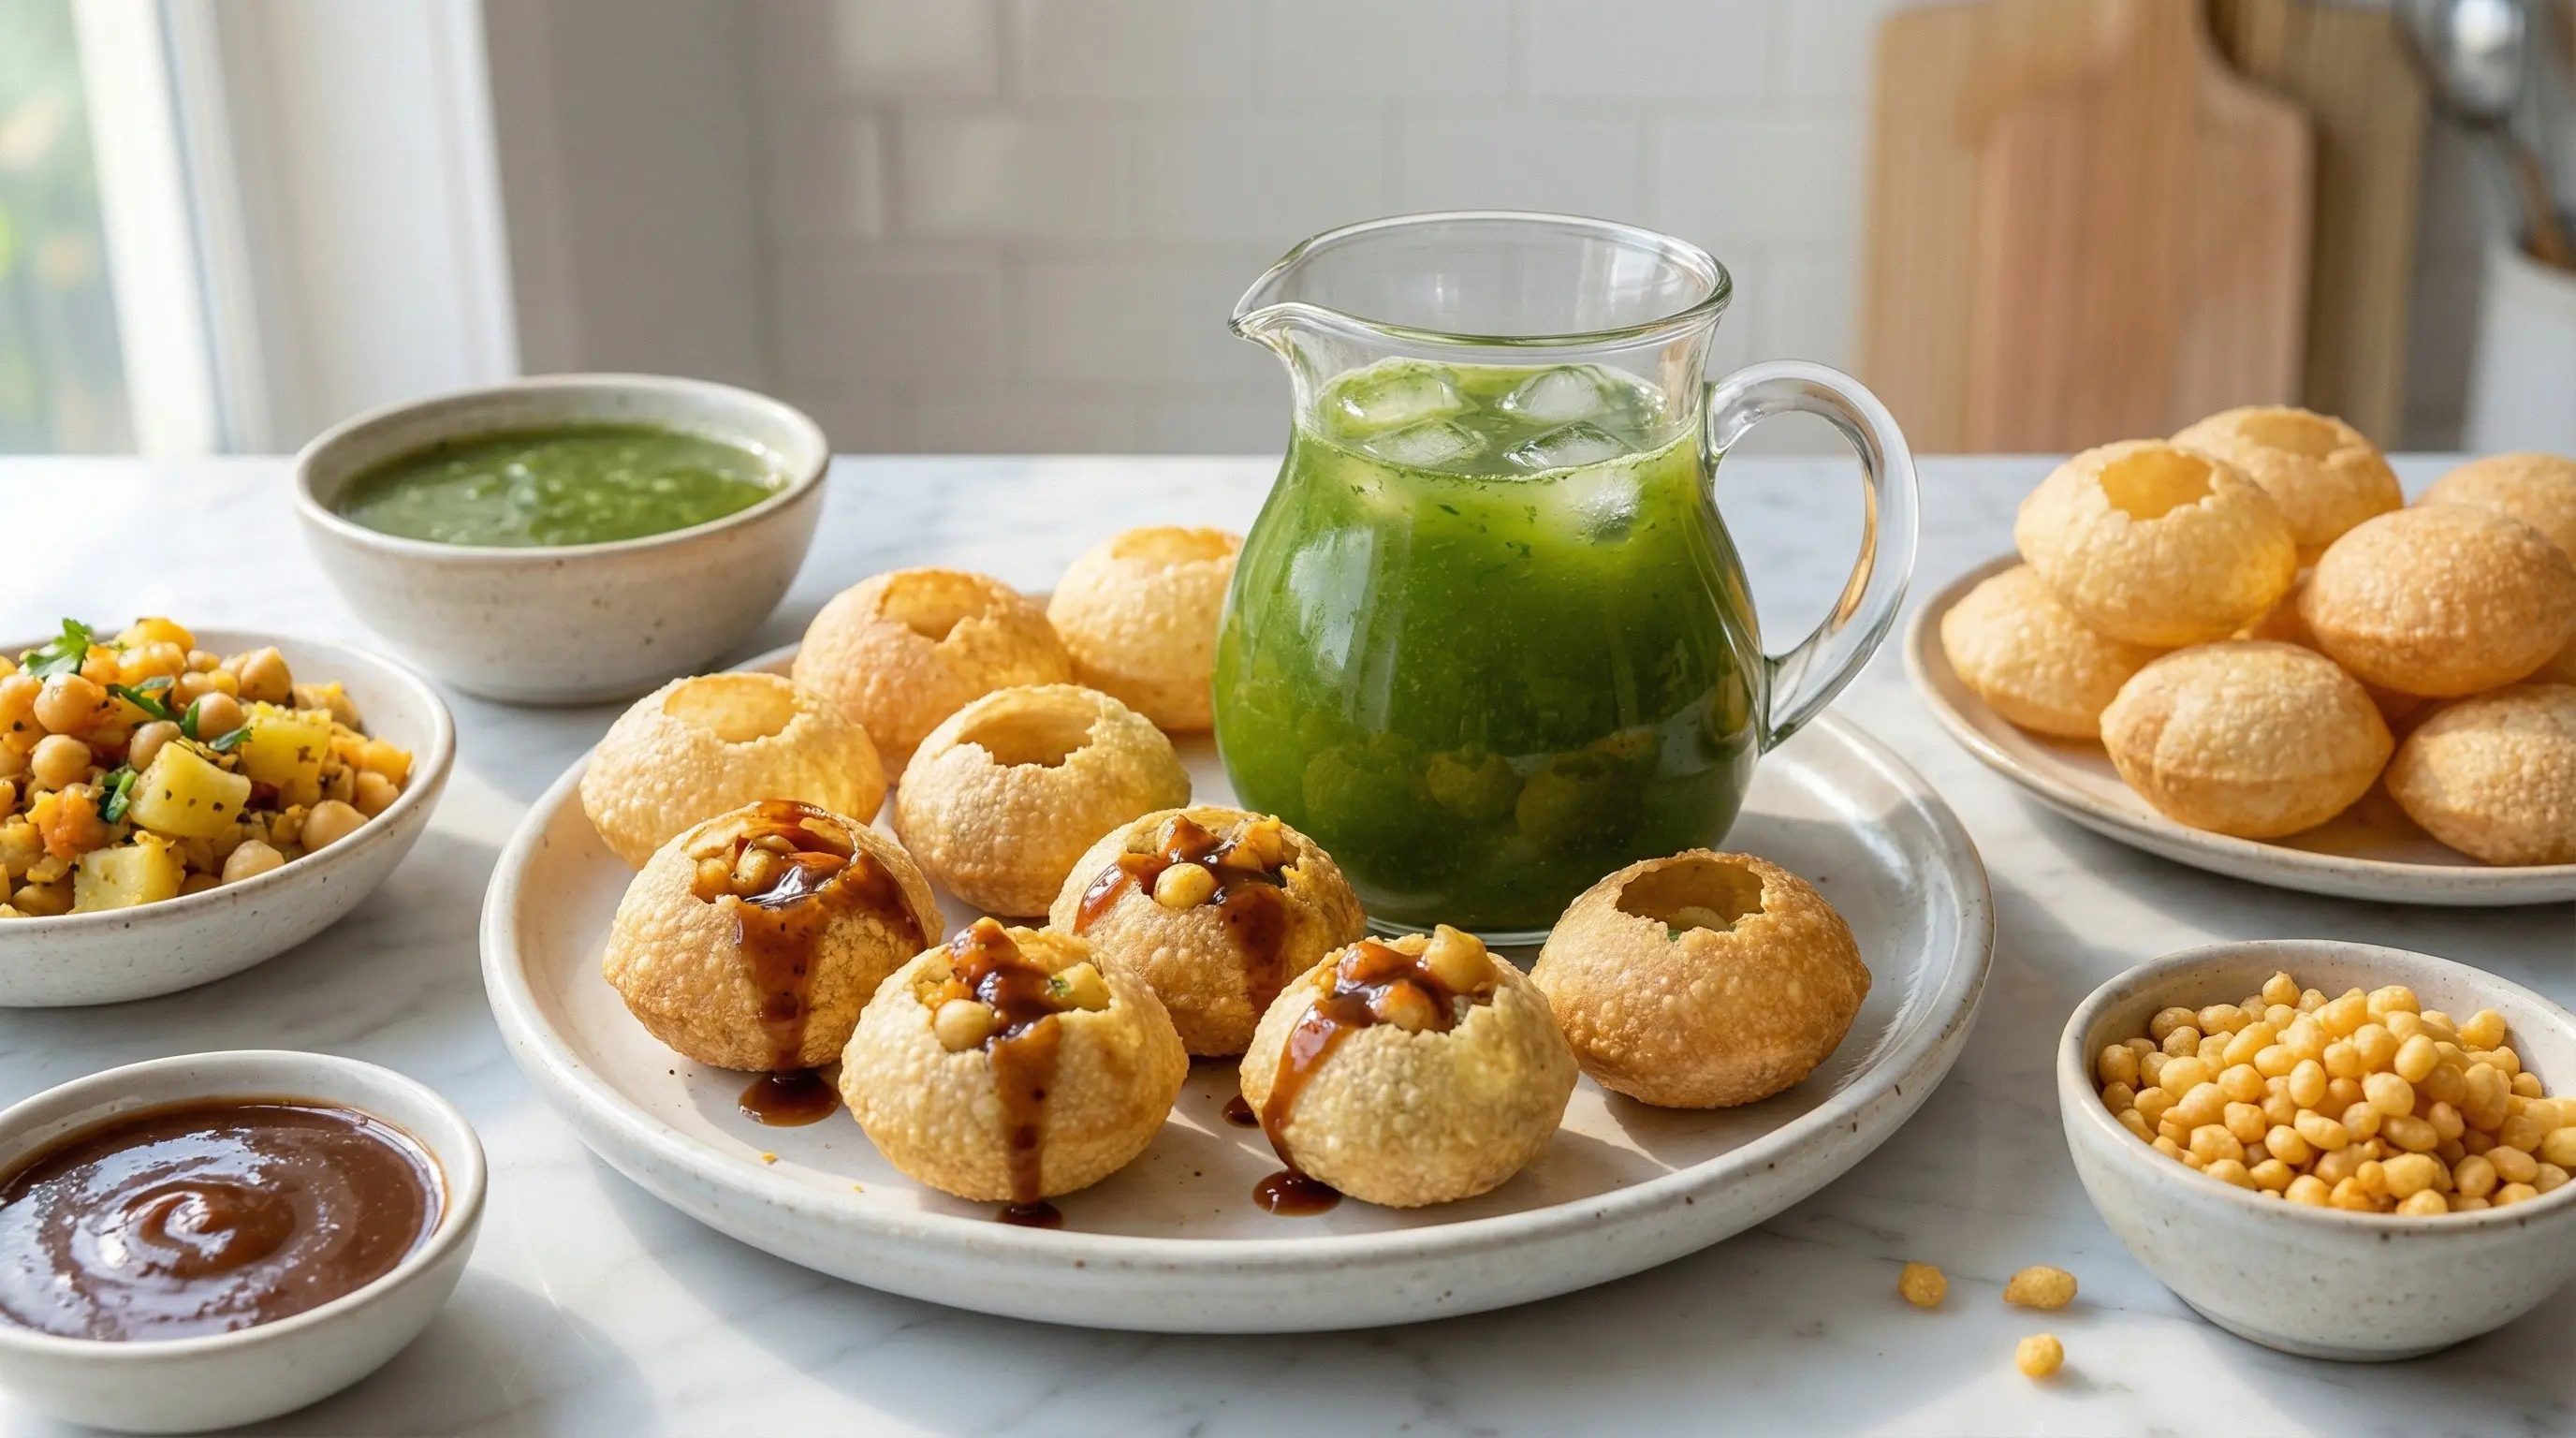
Pani Puri
Learn how to make authentic pani puri, India's most beloved street food with crispy hollow shells filled with spiced water, chickpeas, and tangy chutneys. This explosive flavor bomb is fun to make and even more fun to eat!
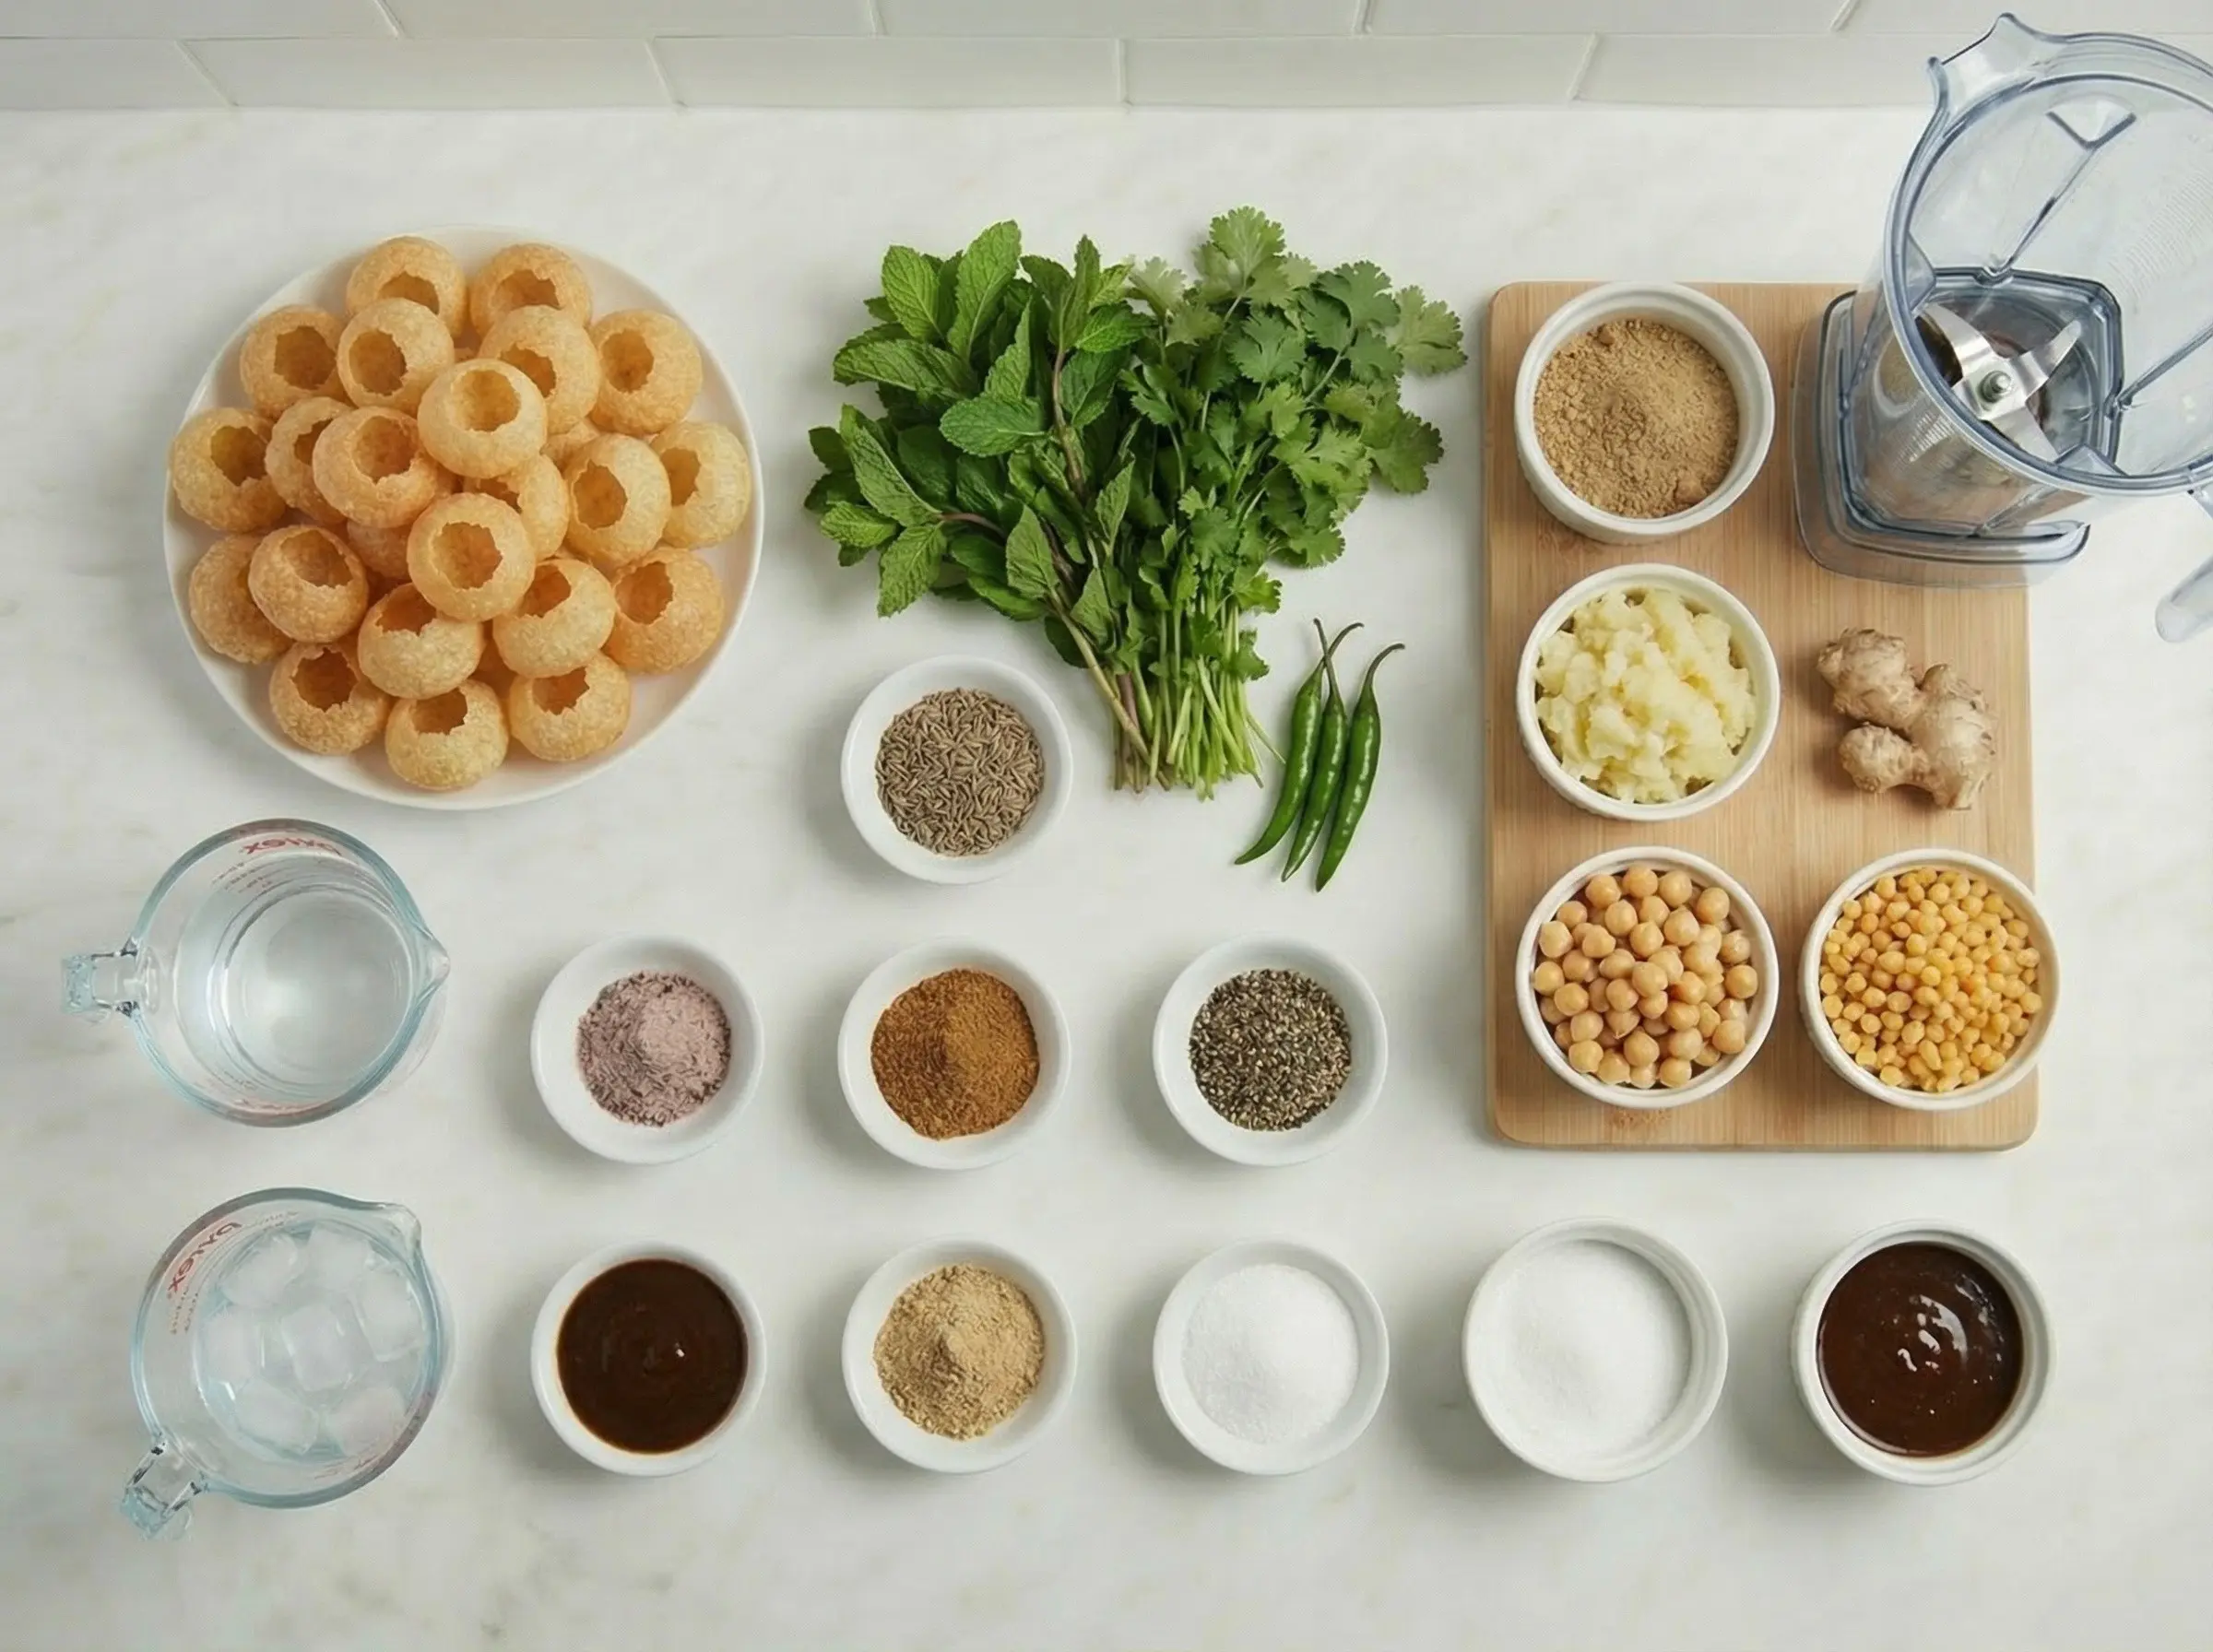
Ingredients
The Story
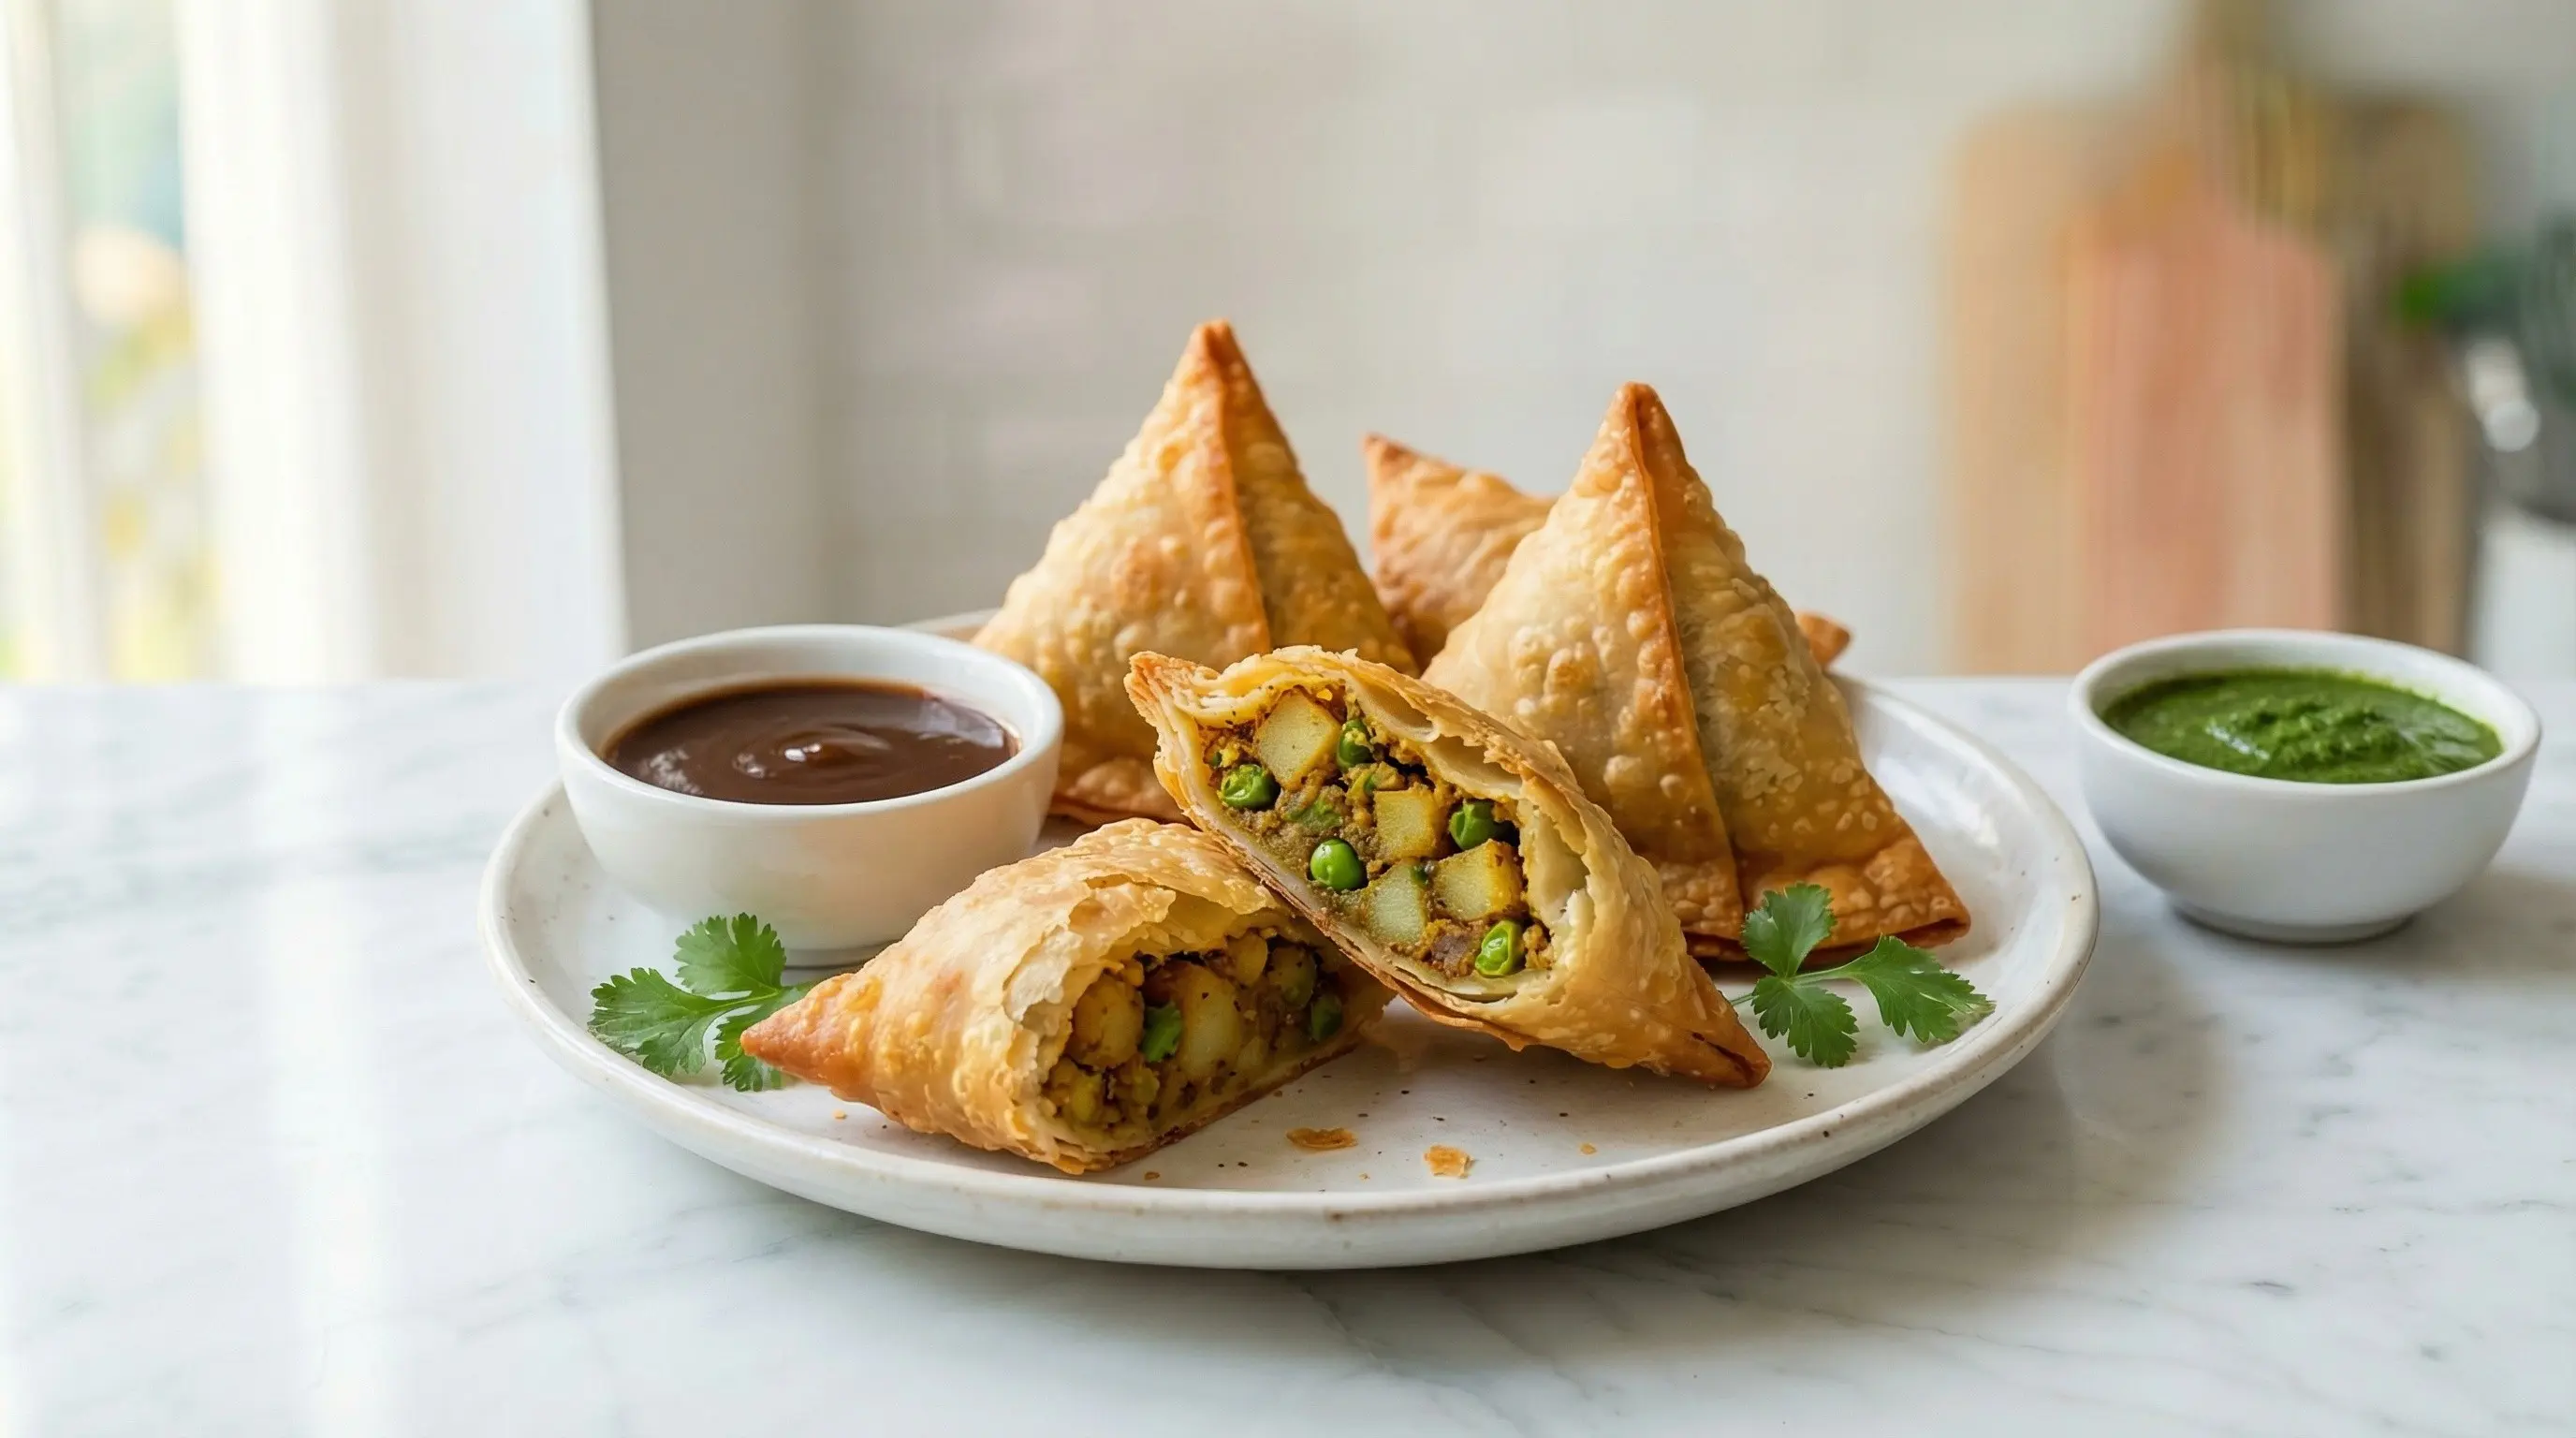
Pani puri is arguably India's most iconic and beloved street food, a sensory explosion that delivers an entire universe of flavors and textures in a single bite. The name describes exactly what it is: "pani" meaning water and "puri" meaning the crispy fried bread shell - together creating a snack where a hollow, crispy sphere is filled with spiced, tangy water and eaten in one glorious mouthful. The dish goes by many regional names across India: golgappa in North India (from "gol" meaning round and "gappa" meaning gulp), puchka in Bengal and Bangladesh, and gup chup in Odisha, but the experience remains universally beloved from Kashmir to Kerala. The origins of pani puri are disputed, with multiple regions claiming to have invented this masterpiece. One popular legend traces it to the ancient kingdom of Magadha (modern-day Bihar), where it was supposedly created as a digestive aid using spiced water. Another story connects it to the Mahabharata, claiming that Draupadi invented the dish during the Pandavas' exile to make a filling snack from limited ingredients. More verifiable history suggests pani puri evolved in the streets of Uttar Pradesh or Bihar during the 19th century as an ingenious way to deliver bold flavors in a portable, inexpensive format. Street vendors (panipuri wallahs) became masters of this craft, setting up humble carts that drew long lines of devotees craving their particular blend of tangy, spicy pani. What makes pani puri so addictive is the extraordinary explosion of flavors and textures that occurs when you pop the entire thing into your mouth. First comes the shatter of the crispy puri shell against your teeth, then the rush of cold, spiced pani floods your mouth - intensely tangy from tamarind and raw mango, sharp with mint and cilantro, and electrifying with green chili heat. The soft, spiced potatoes and tender chickpeas provide substance, while sweet tamarind chutney adds another layer of complexity. All of these elements combine in the span of seconds, creating a taste experience that is impossible to replicate any other way. Eating pani puri is ritualistic: you must eat each one in a single bite, and once you start, it is nearly impossible to stop at just one.
Instructions
Step 1
Make the pani (spiced water) - this is the soul of pani puri and should be prepared first to allow flavors to meld. In a blender, combine the fresh mint leaves, cilantro (including stems for extra flavor), green chilies (adjust quantity based on heat preference), ginger, roasted cumin seeds, and 1 cup of the cold water. Blend on high speed until completely smooth - no visible leaf pieces should remain. The mixture should be vibrant green and intensely aromatic.
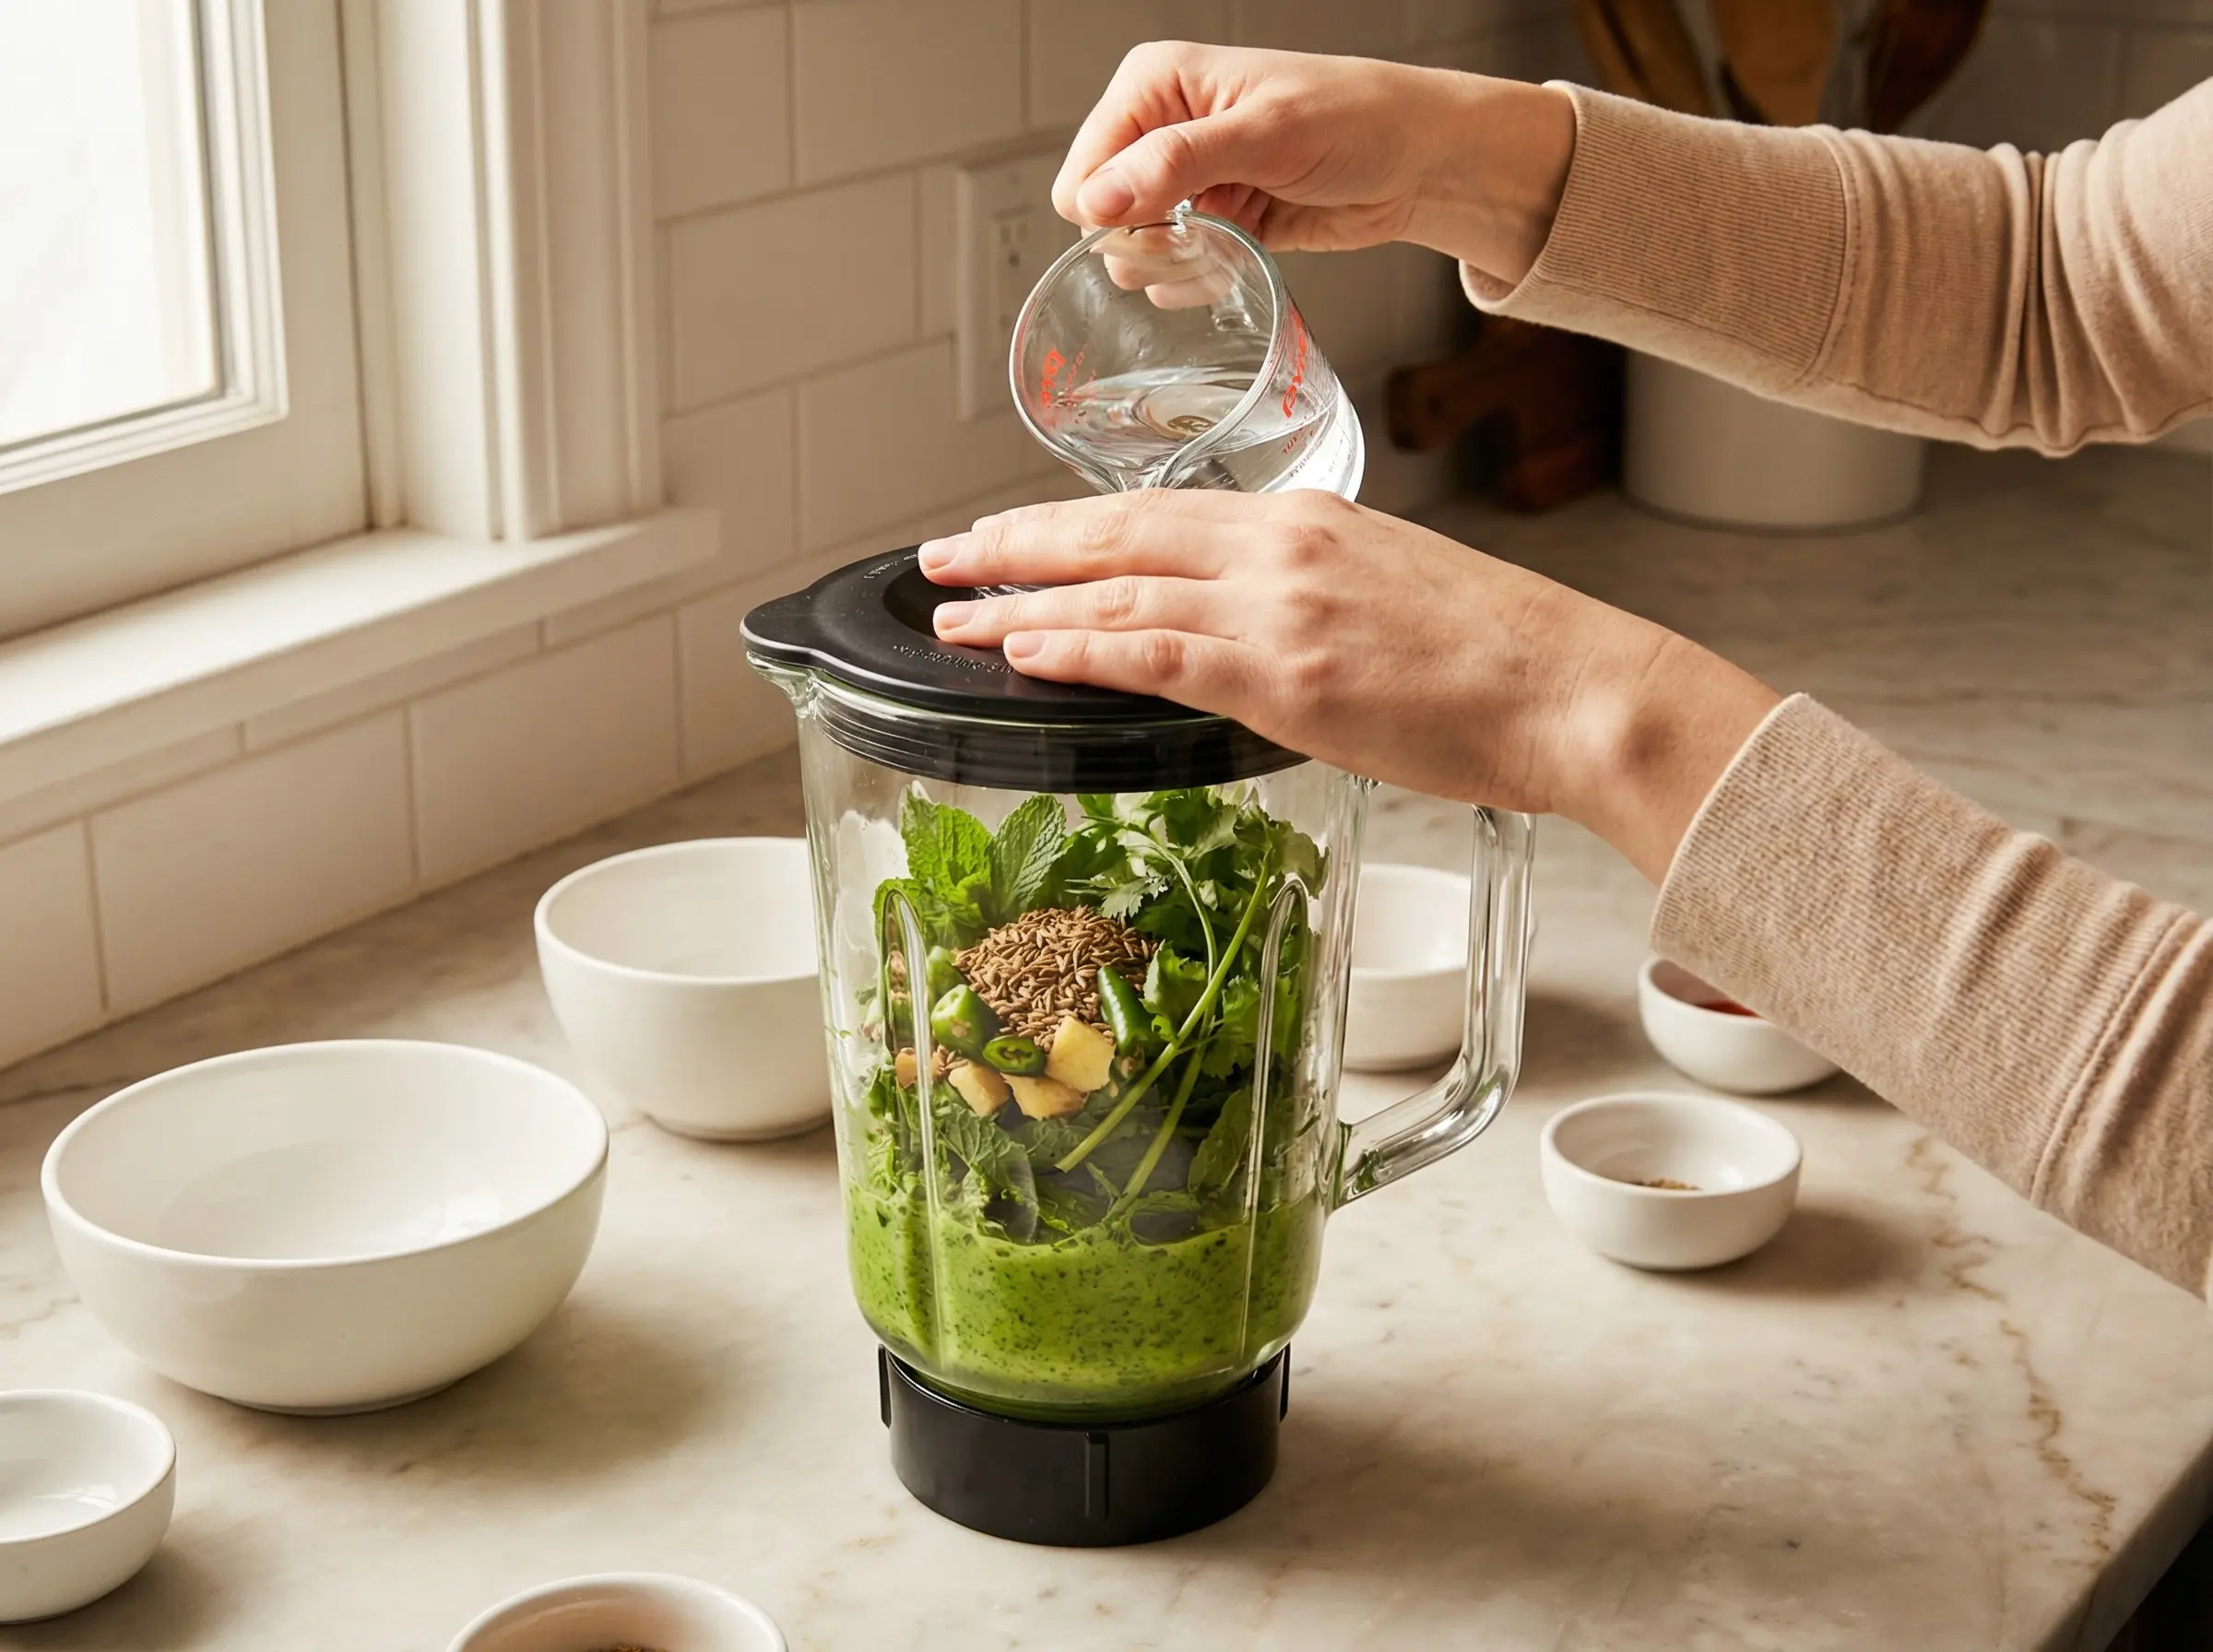
Step 2
Strain the green paste through a fine-mesh strainer into a large pitcher or bowl, pressing with a spoon to extract all the liquid. Discard the fibrous pulp. Add the remaining 3 cups of cold water to the strained liquid. Add the tamarind paste, raw mango powder (amchur), black salt (kala namak), regular salt, chaat masala, black pepper, and sugar. Whisk vigorously until everything is completely dissolved and well combined. The pani should taste intensely tangy, slightly spicy, and refreshing - bold enough to stand up to being diluted by the other fillings.
Step 3
Taste the pani and adjust the balance of flavors. It should be predominantly tangy (from tamarind and amchur), with noticeable heat from the green chilies, and a refreshing mintiness. The black salt adds a distinctive sulfurous note that is essential to authentic pani puri. Add more tamarind for tanginess, more chili for heat, more sugar to balance acidity, or more black salt for that characteristic chaat flavor. Refrigerate the pani for at least 30 minutes, or up to 24 hours - the flavors improve as they meld. For extra refreshment, add a few ice cubes just before serving.

Step 4
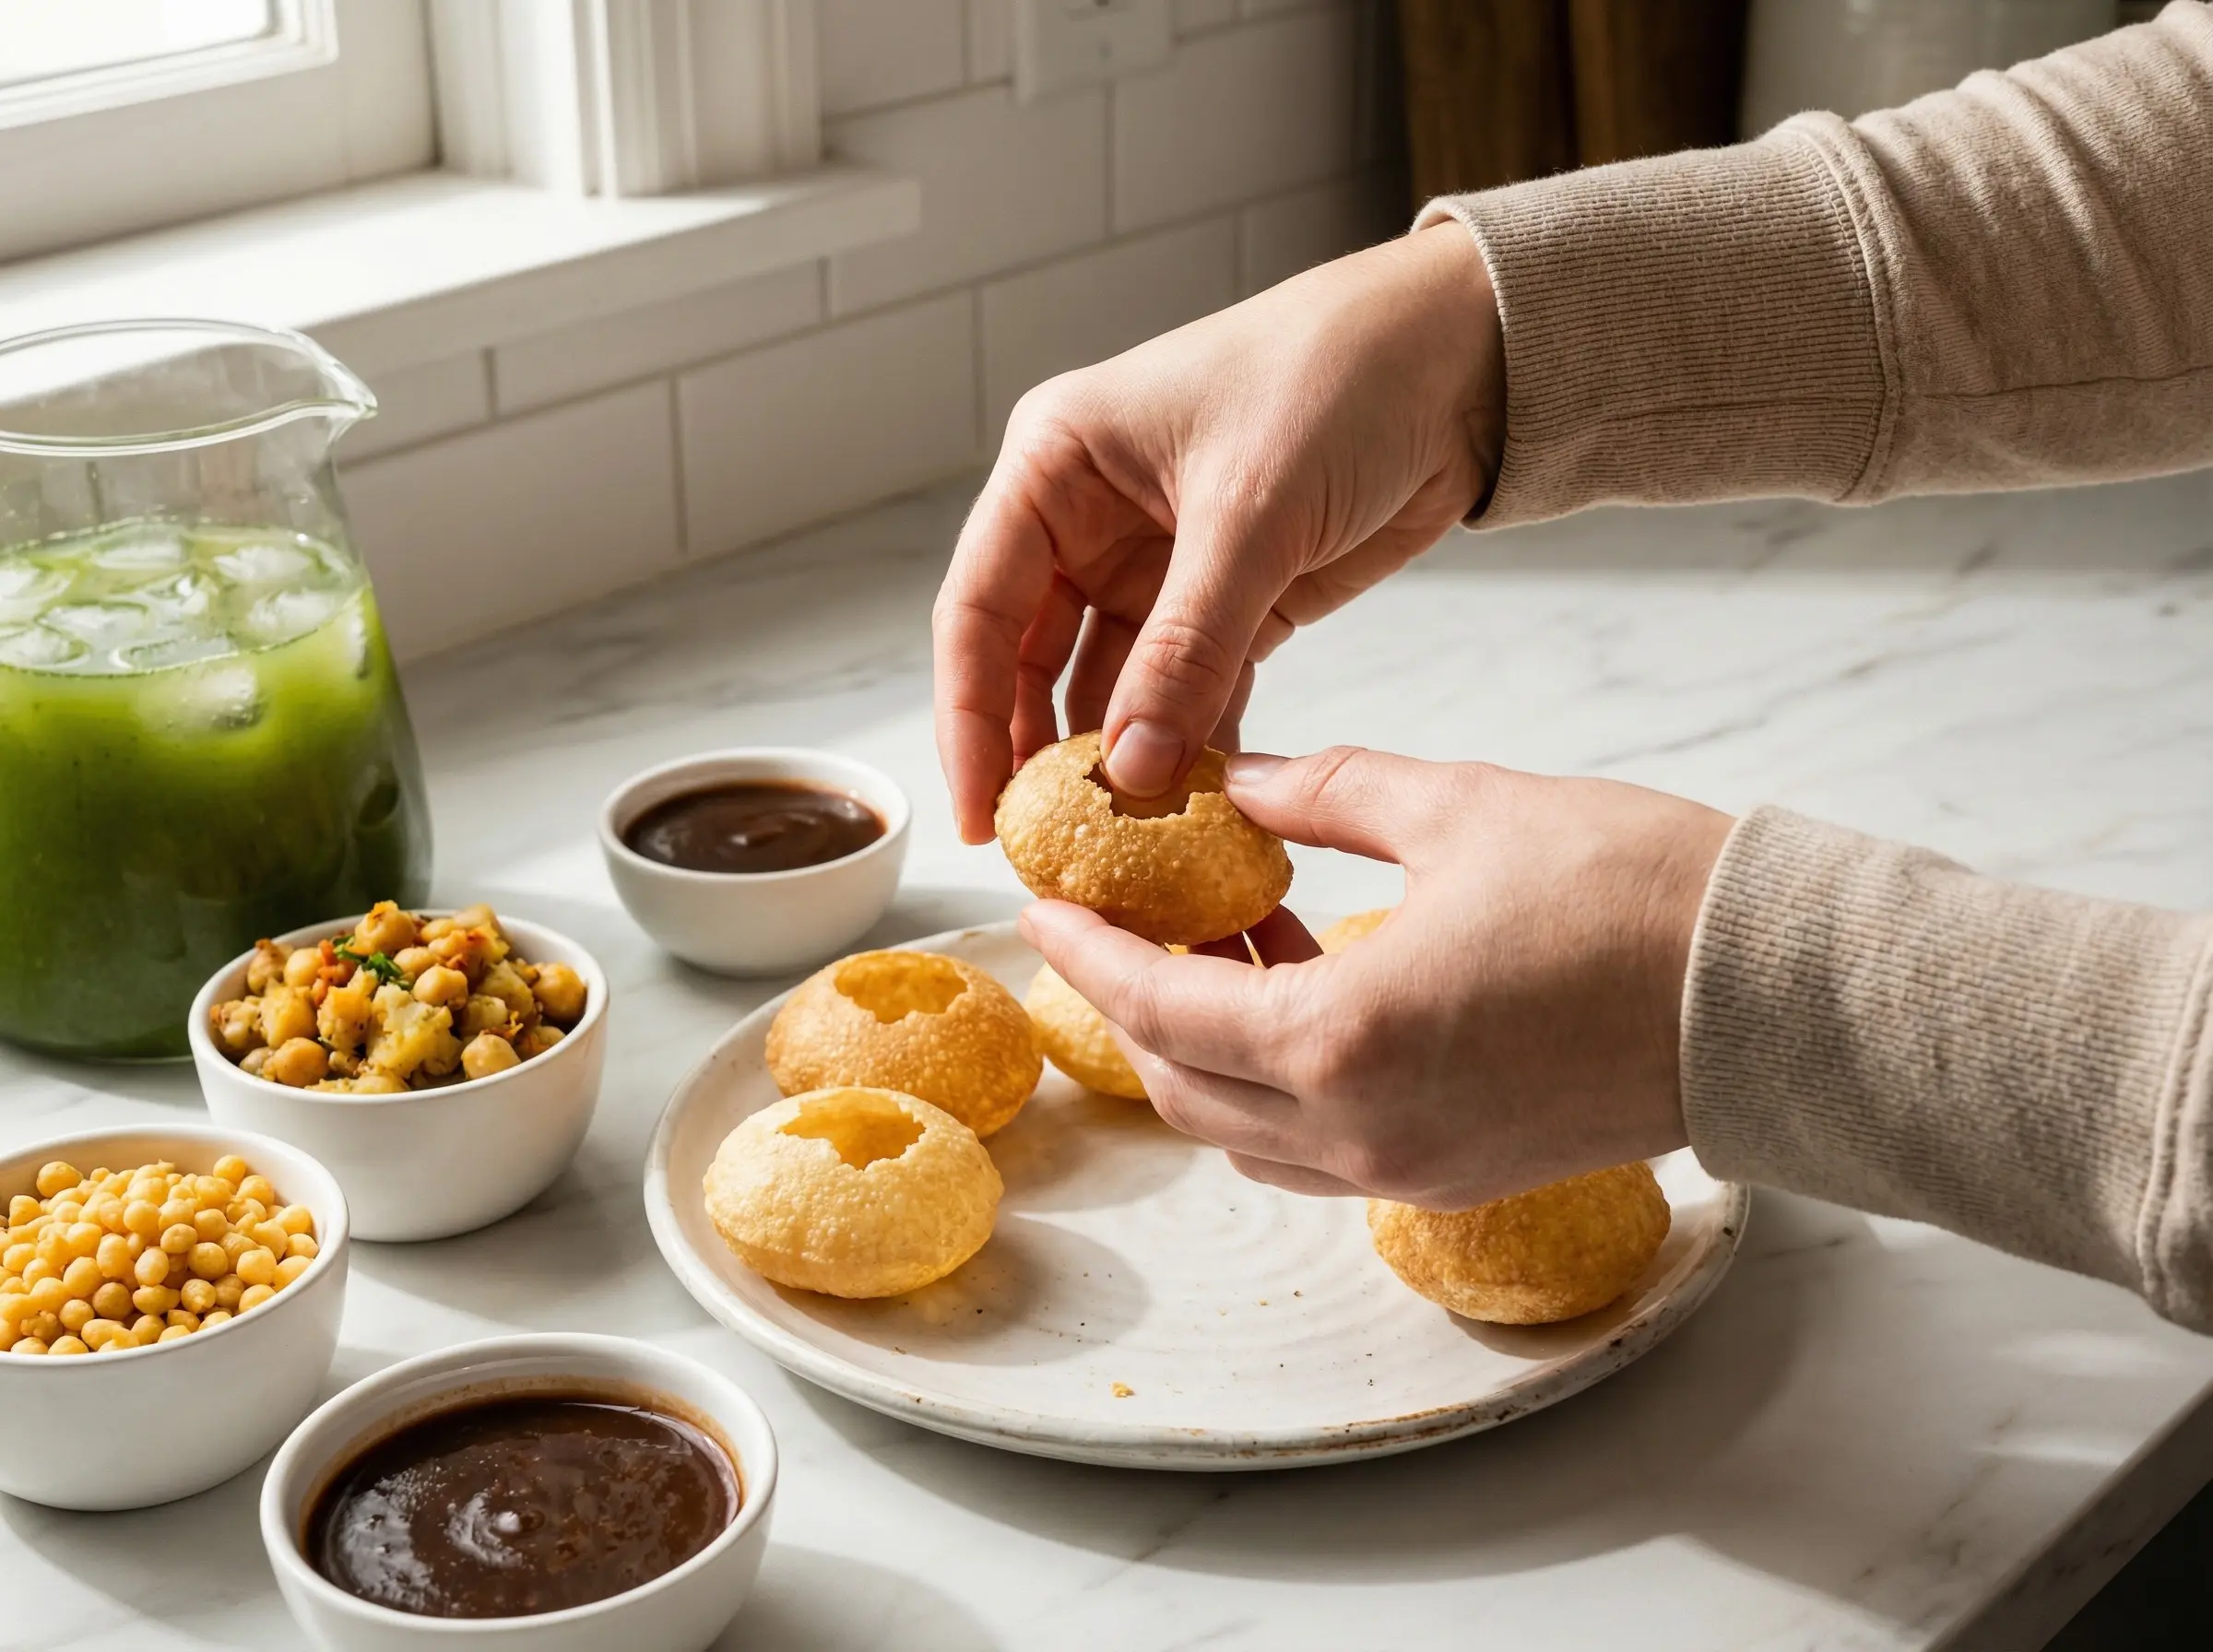
Prepare the filling (aloo masala). In a bowl, combine the mashed boiled potatoes with the boiled chickpeas. Season with 1/2 teaspoon chaat masala, 1/4 teaspoon black salt, and a pinch of red chili powder. Mix well - the filling should be flavorful on its own but not overpowering since it will combine with the pani. The texture should be chunky, not pureed - you want distinct pieces of potato and whole chickpeas. If using boondi (small fried chickpea flour balls), keep them separate and add just before serving so they stay crispy.
Step 5
Prepare the sweet tamarind chutney if making from scratch. Combine 1/4 cup tamarind paste, 3 tablespoons jaggery or brown sugar, 1/2 teaspoon roasted cumin powder, 1/4 teaspoon red chili powder, and a pinch of salt in a small saucepan. Add 1/4 cup water and simmer over low heat for 5-7 minutes until thickened and glossy. The chutney should be thick enough to coat a spoon. Cool completely before using. Store-bought tamarind chutney works well if you are short on time.
Step 6
Assemble and serve the pani puri. Arrange all components on the table: puri shells, potato-chickpea filling, sweet tamarind chutney, boondi if using, and a pitcher of the chilled pani. To eat, gently tap a hole in the top of each puri using your thumb or a spoon - the shell should crack without shattering. Add about 1 teaspoon of the potato-chickpea filling, a few boondi, and a small drizzle of sweet tamarind chutney. Lower the puri into the pani to fill it about two-thirds full, then immediately pop the entire thing into your mouth in one bite. The experience is an explosion: crispy shell, tangy-spicy pani, soft filling, and sweet chutney all at once. Eat immediately after filling - if the puri sits, it becomes soggy. The ritual of eating pani puri is communal and fast-paced - fill and eat one after another, chasing that perfect flavor explosion.
You Might Also Like