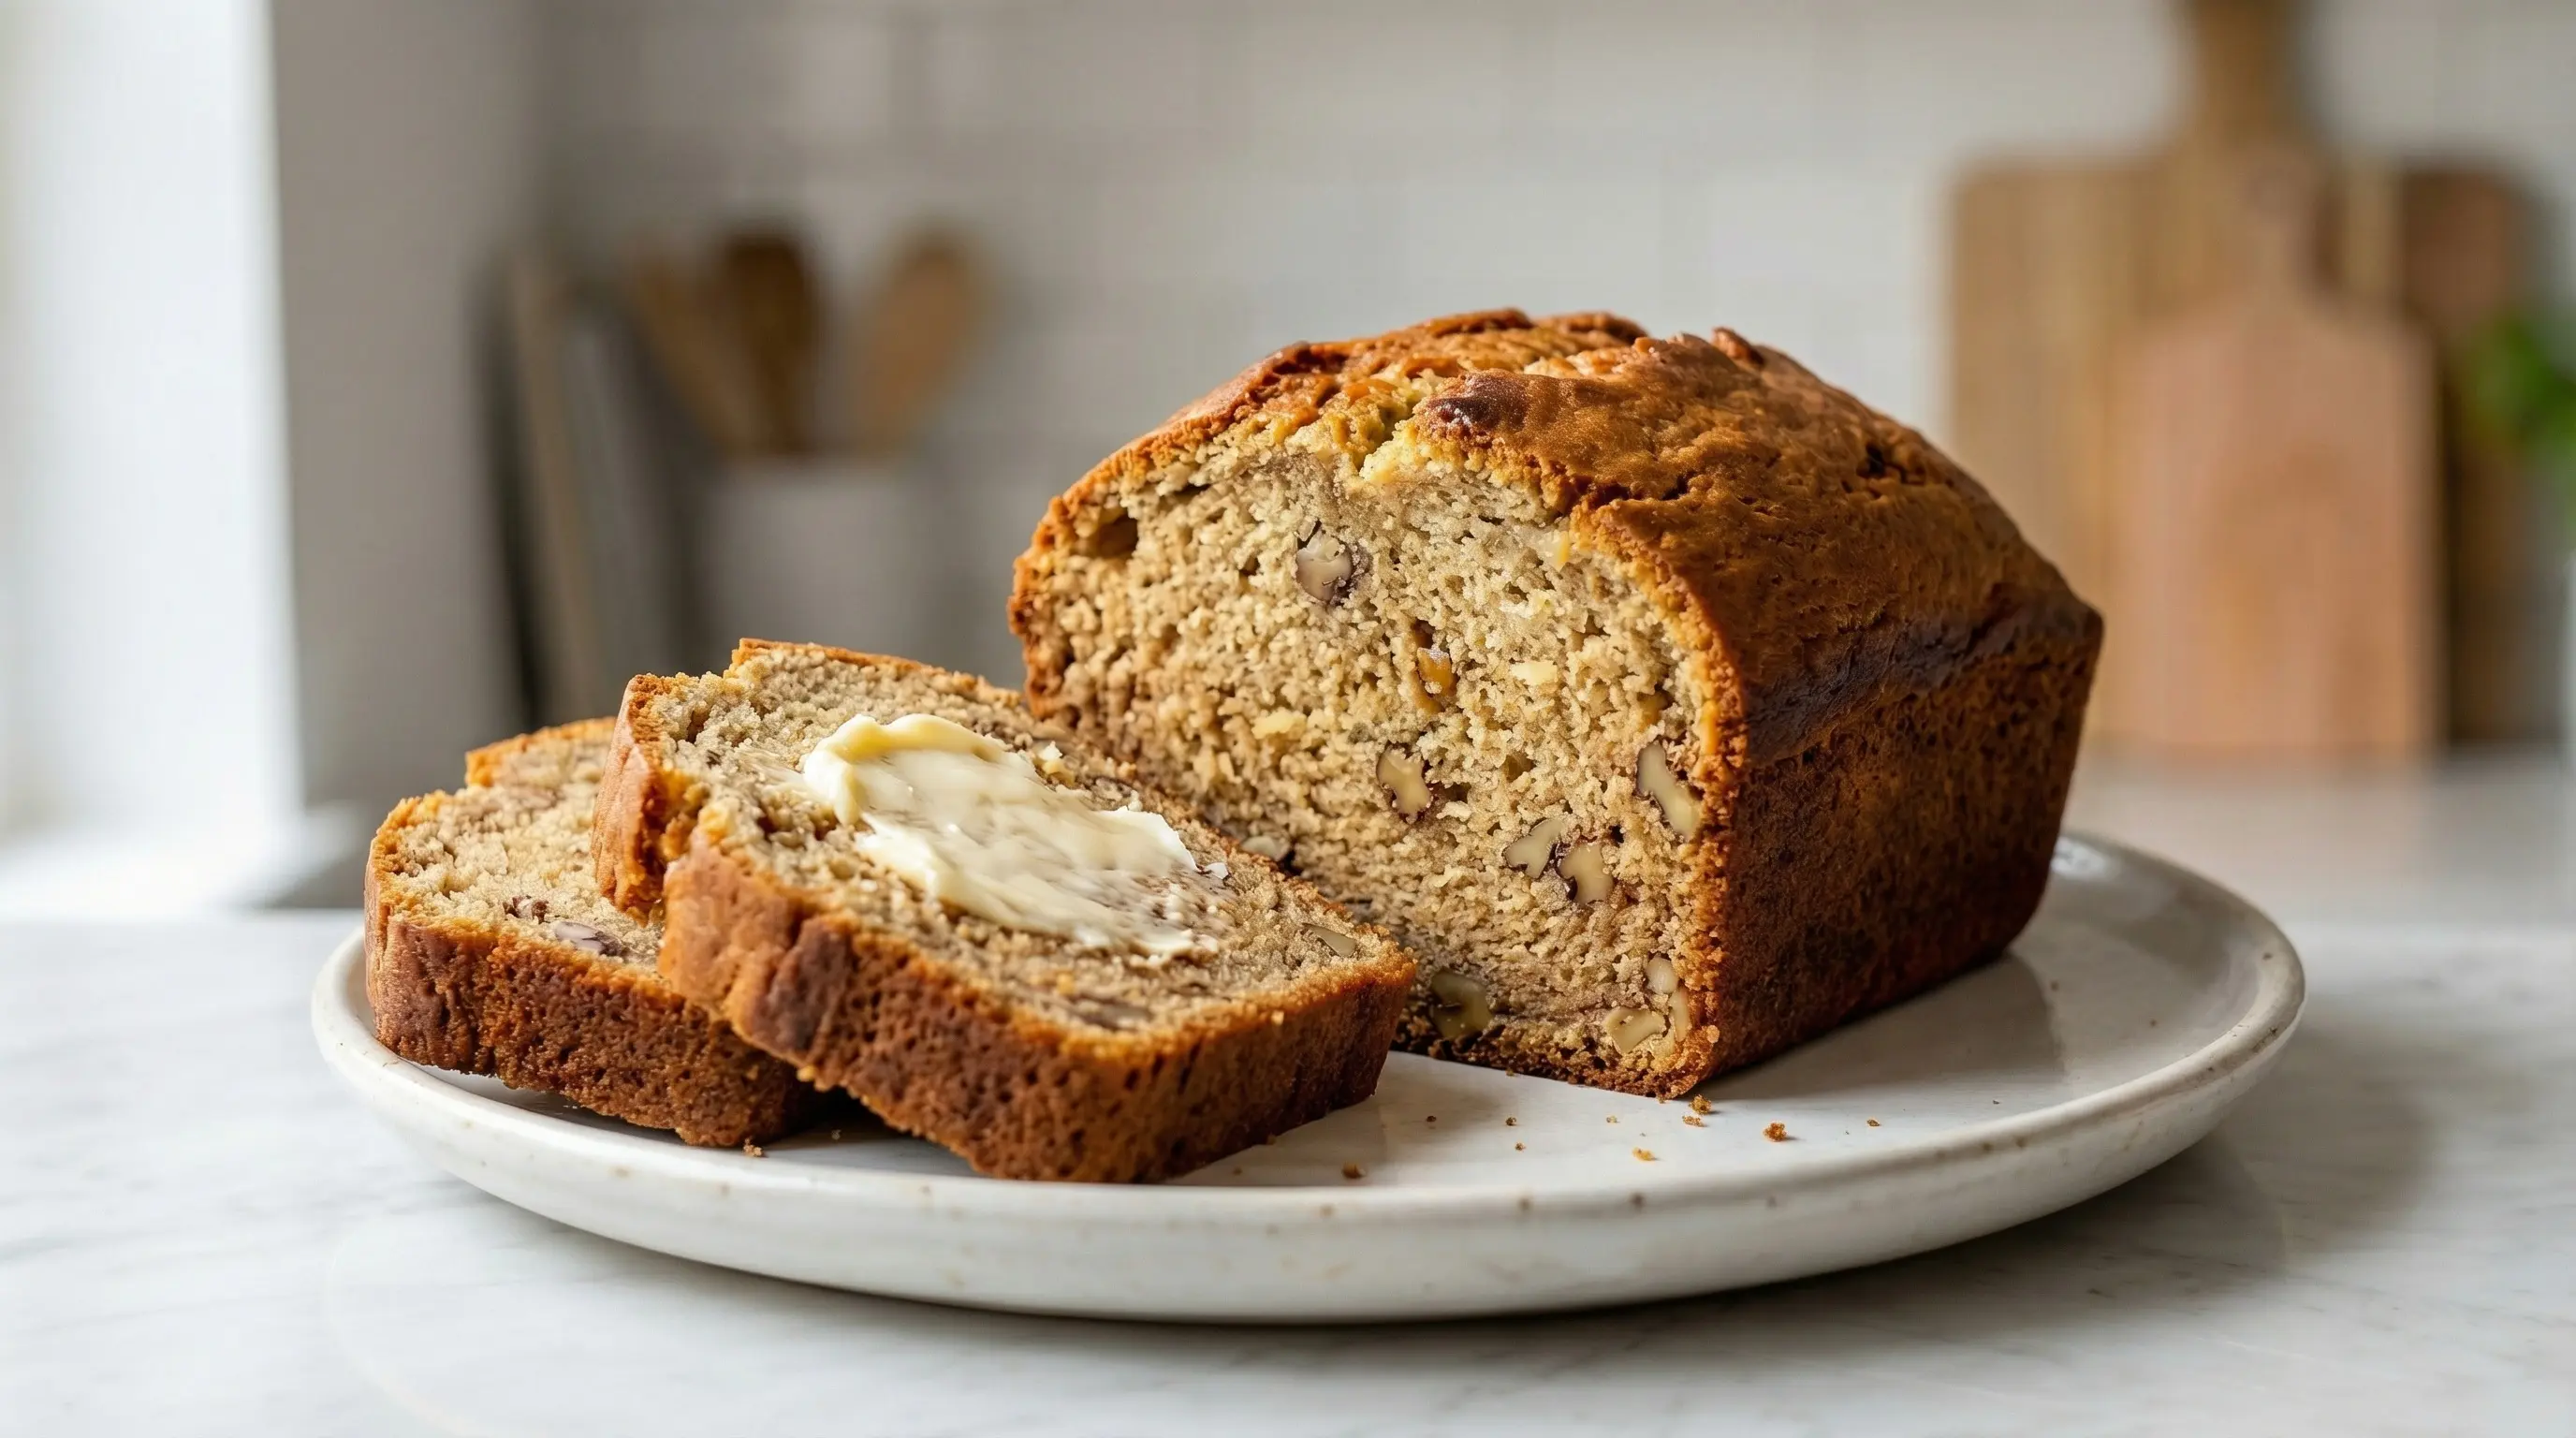
Classic Banana Bread
Learn how to make the best banana bread with overripe bananas. This classic recipe is moist, flavorful, and perfect for breakfast or snack time!
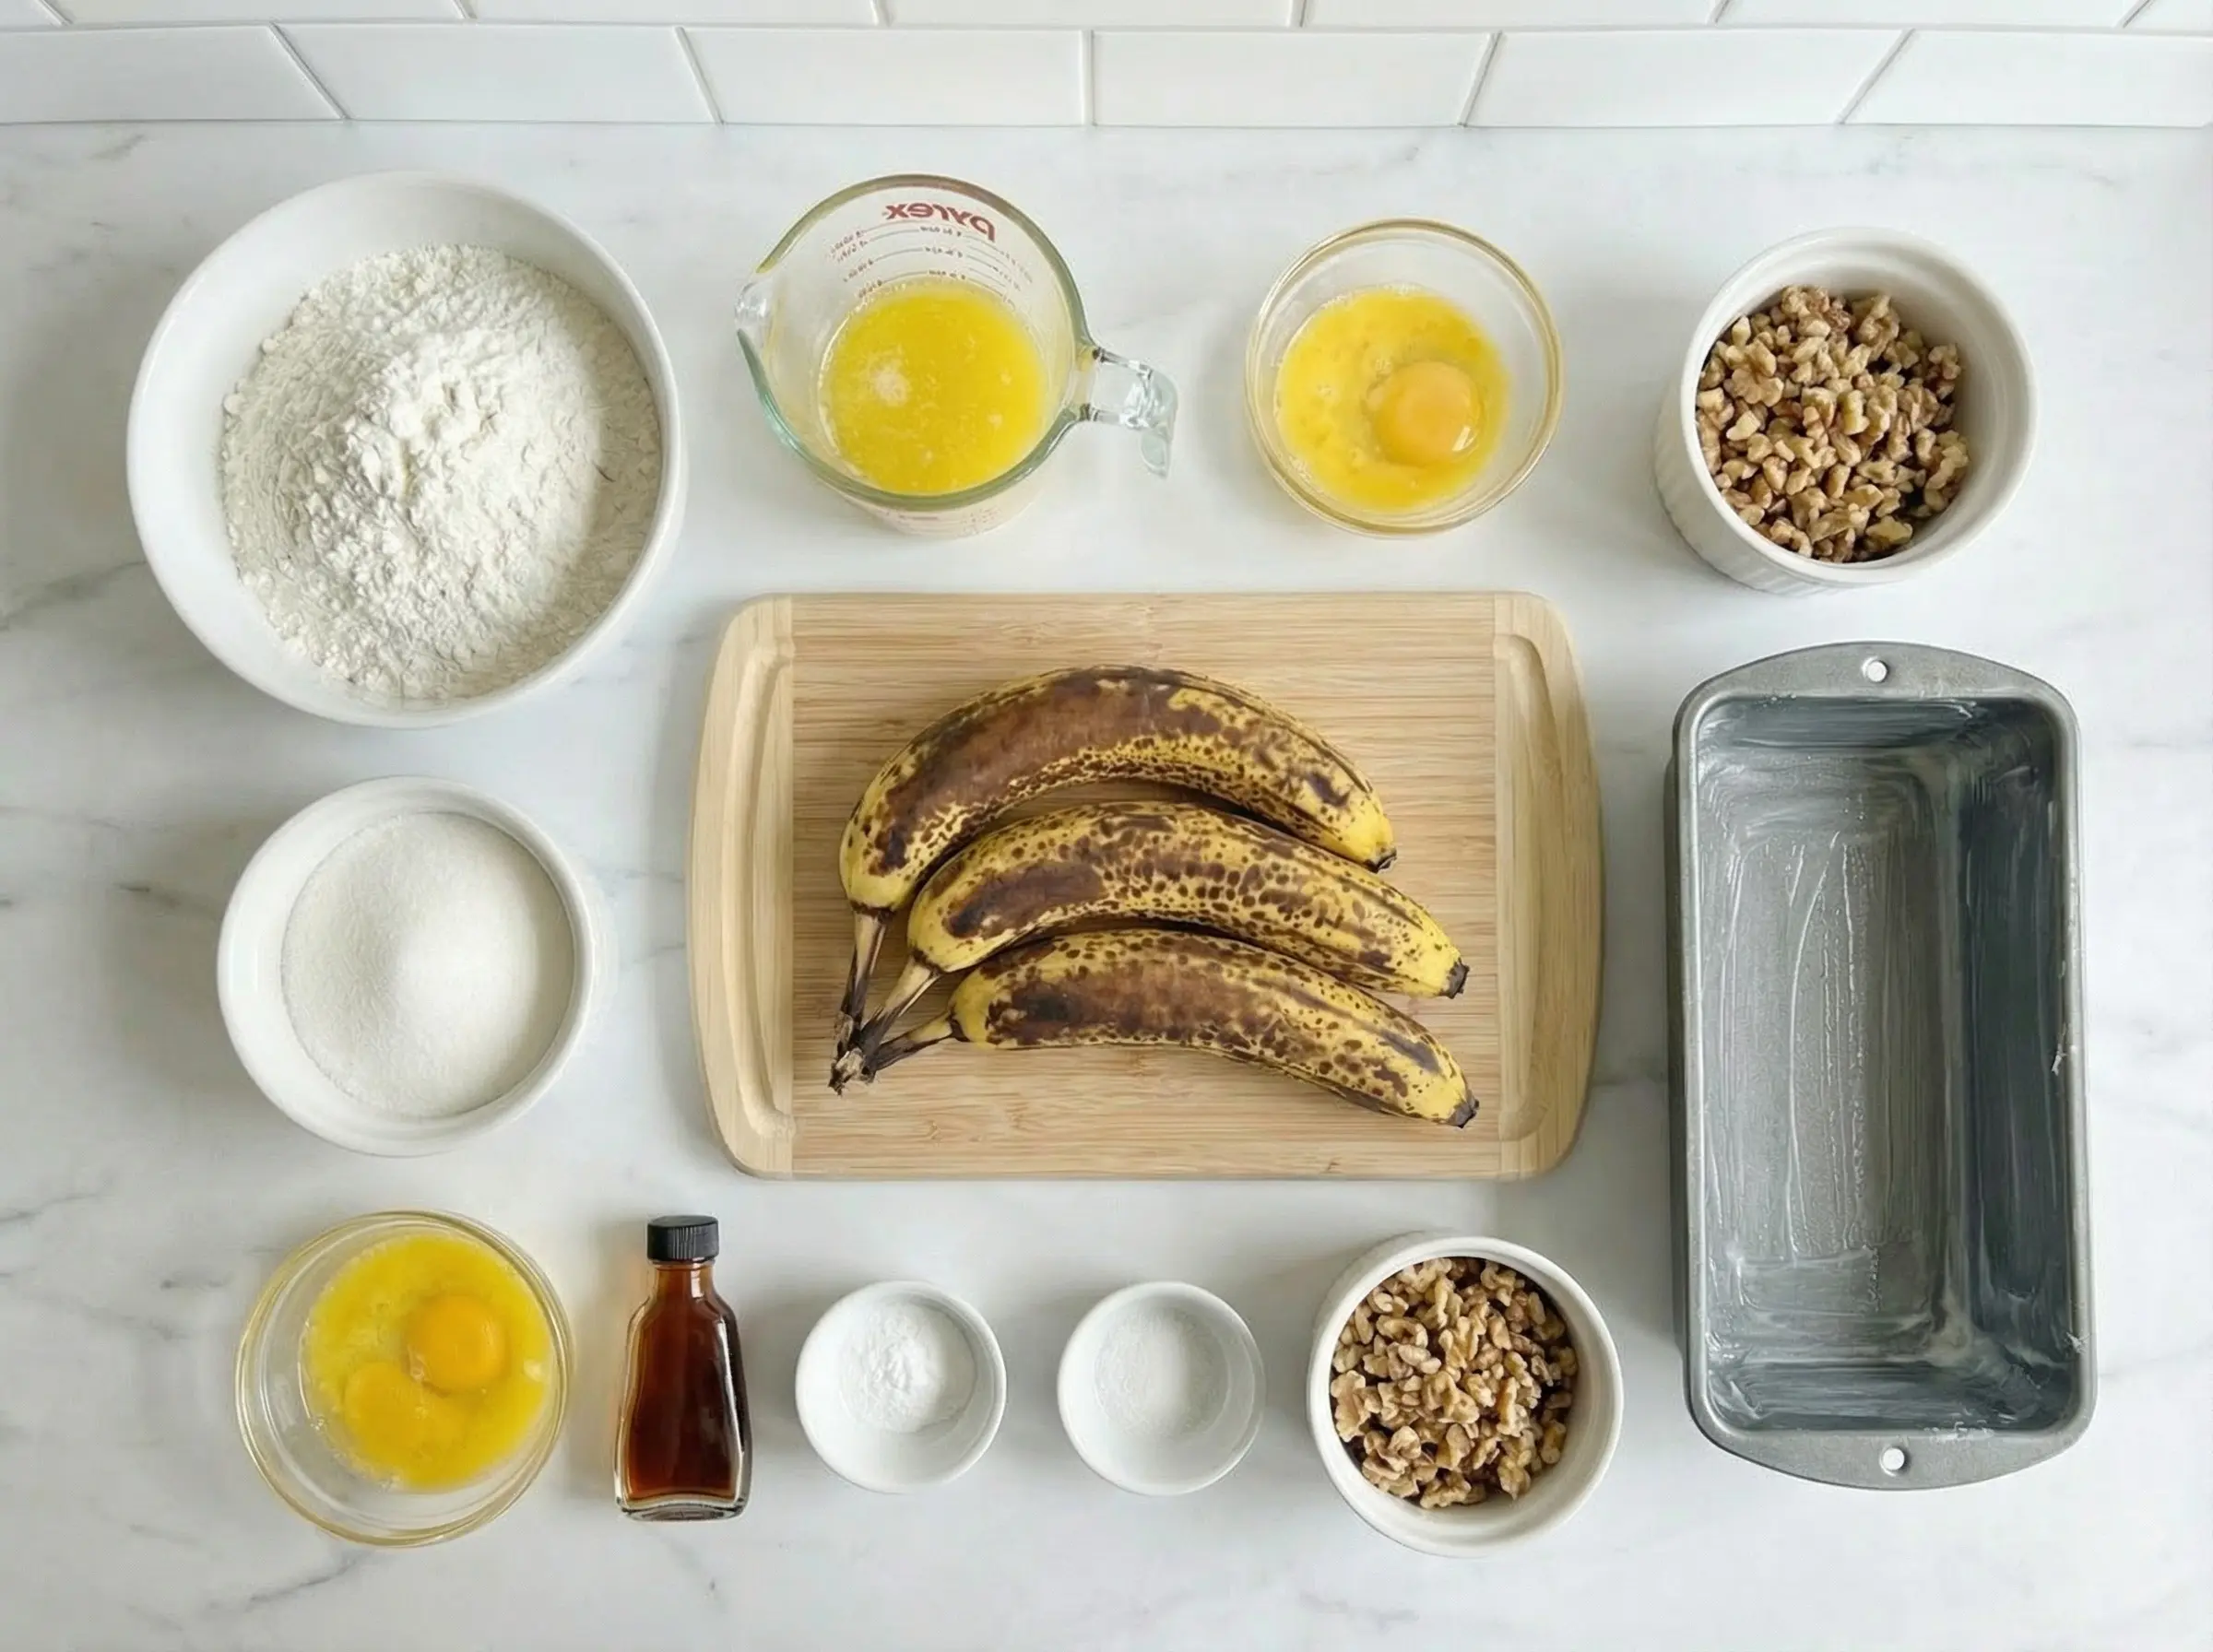
Ingredients
The Story
Banana bread is a quintessentially American comfort food that emerged during the Great Depression of the 1930s, born from both ingenuity and necessity. As the country faced economic hardship, resourceful home cooks sought ways to avoid wasting food, and overripe bananas that would otherwise be discarded found new purpose in this sweet, cake-like bread. The timing of banana bread's rise also coincided with two important developments: the widespread availability of bananas in American markets and the popularization of baking powder and baking soda as leavening agents, which made quick breads much easier to prepare than traditional yeast breads. The first banana bread recipes began appearing in cookbooks in the 1930s, promoted by companies like Pillsbury and Chiquita as a way to use up brown, speckled bananas. Unlike traditional breads that require kneading and rising time, banana bread belongs to the "quick bread" family, which relies on chemical leaveners rather than yeast. This made it accessible to home bakers of all skill levels - no special techniques required, just mix and bake. During World War II, banana bread became even more popular as rationing made other desserts difficult to prepare, and the natural sweetness of bananas meant less sugar was needed. What makes banana bread so enduringly beloved is its perfect balance of simplicity and satisfaction. The recipe is forgiving and adaptable - you can add nuts, chocolate chips, or spices; make it more cake-like or more bread-like; enjoy it plain or slathered with butter. The intoxicating aroma of banana bread baking fills a home with warmth and comfort. Those overripe bananas sitting on the counter, covered in brown spots that might seem past their prime, transform into something wonderful. Banana bread represents the best of home baking: turning humble ingredients into something special, and never letting good food go to waste.
Instructions
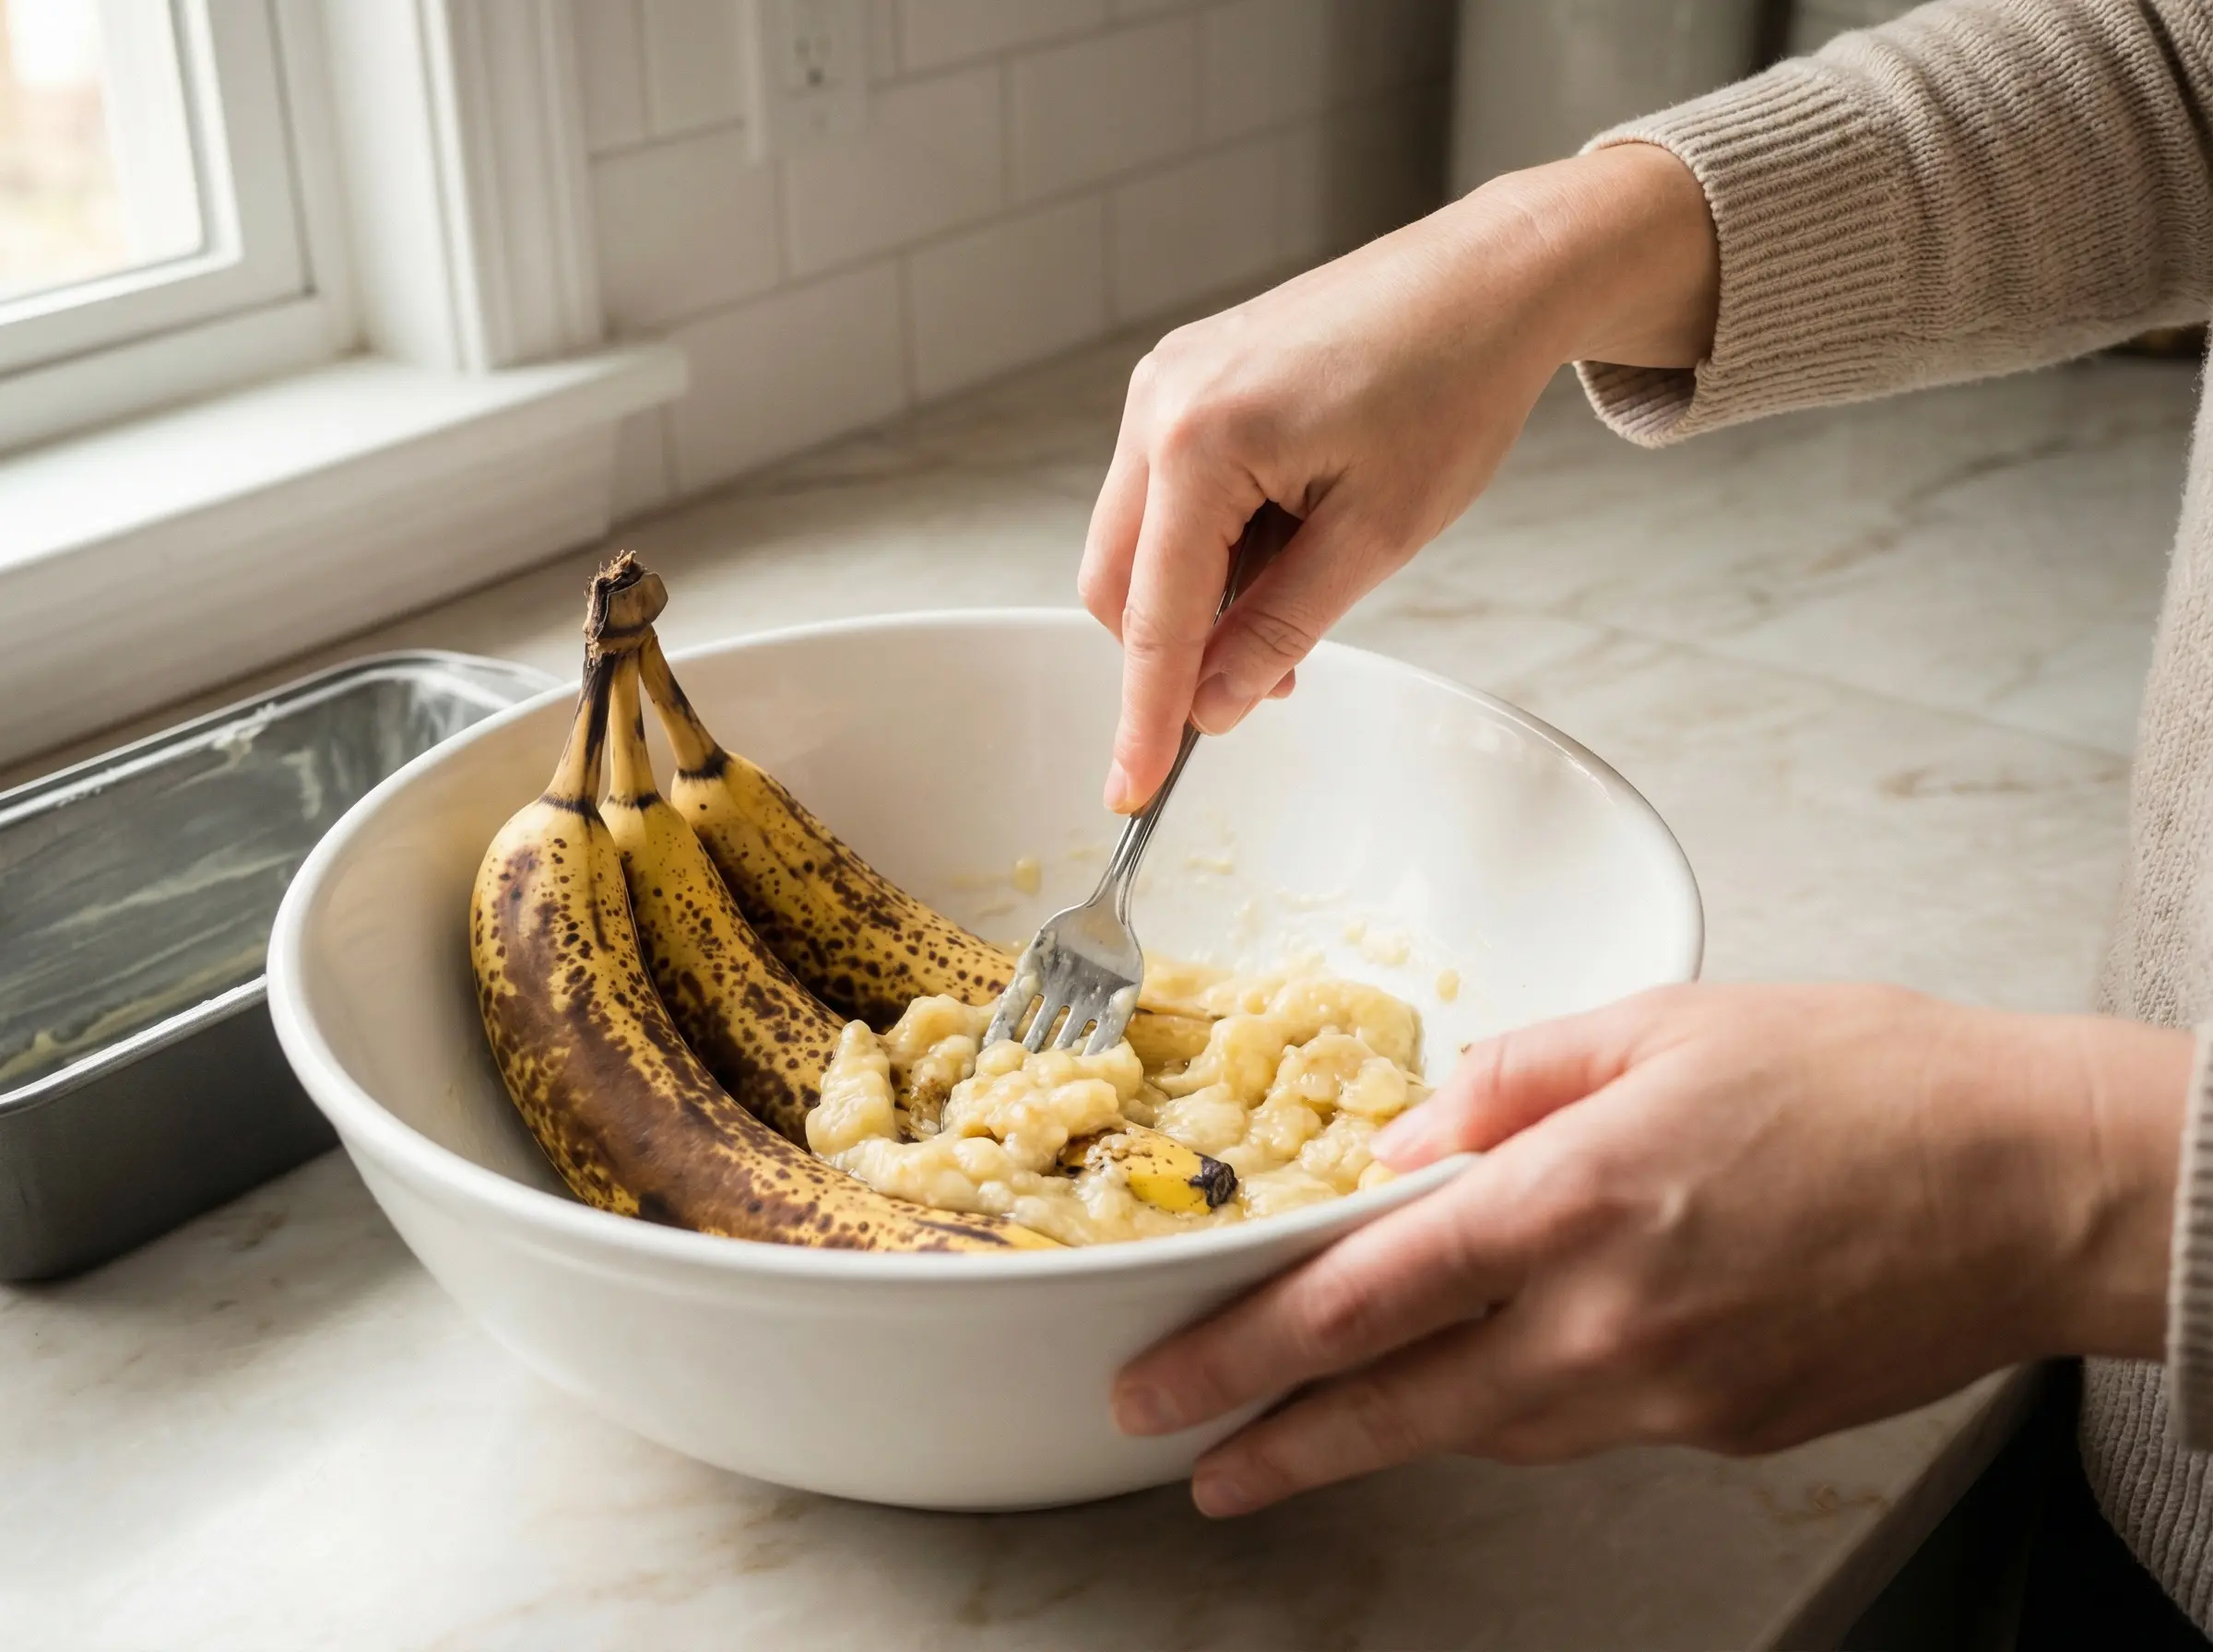
Step 1
Preheat your oven to 350°F (175°C). Grease a 9x5 inch loaf pan with butter or cooking spray, or line it with parchment paper for easy removal. The key to great banana bread starts with the bananas - they should be very ripe with lots of brown spots or even completely brown peels. The riper the bananas, the sweeter and more flavorful your bread will be. In a large mixing bowl, mash the 3 ripe bananas with a fork until mostly smooth. Some small lumps are perfectly fine and will add texture to the finished bread. You should have about 1 to 1.5 cups of mashed banana. The bananas provide natural sweetness, moisture, and that distinctive banana flavor that makes this bread irresistible.
Step 2
Add the melted butter to the mashed bananas and stir together. Then add the sugar, beaten egg, and vanilla extract. Whisk everything together until well combined and the mixture is relatively smooth. The sugar will begin to dissolve into the wet ingredients, and the mixture should be fragrant with banana and vanilla. This wet mixture is the foundation of your banana bread - the banana provides moisture and flavor, the butter adds richness, the sugar brings sweetness, the egg binds everything together, and the vanilla enhances all the flavors. Make sure everything is thoroughly combined before moving to the next step.
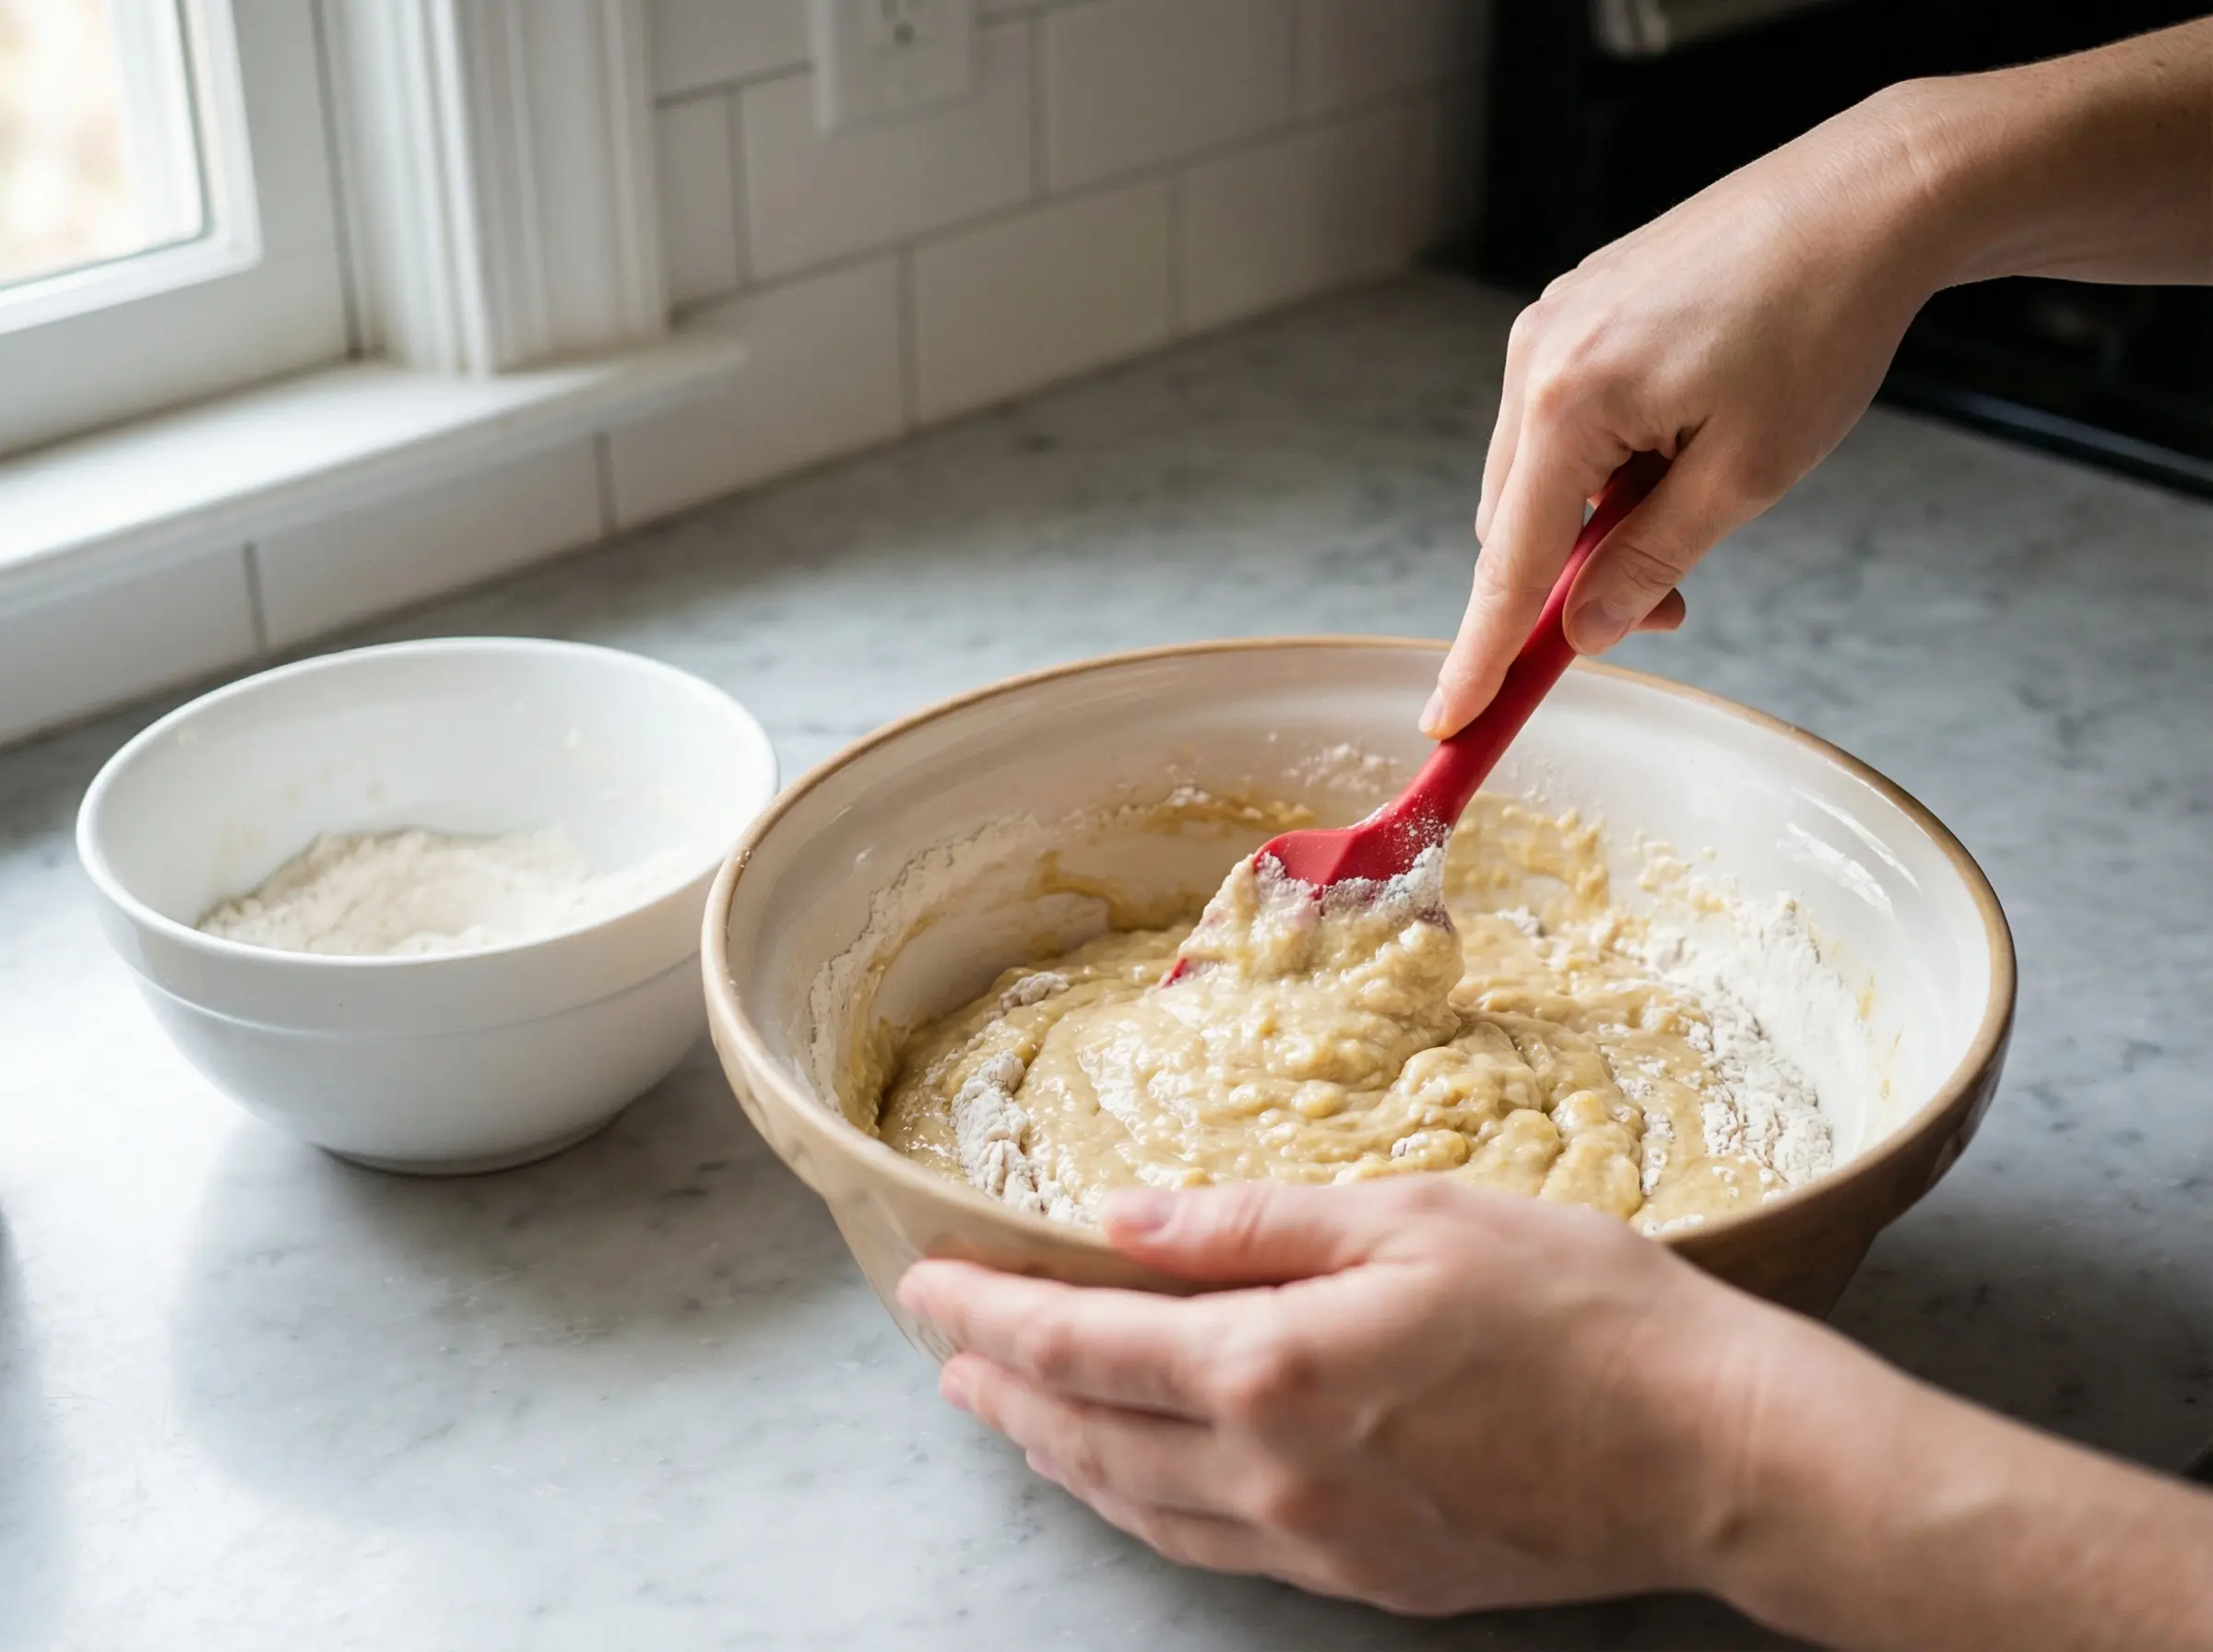
Step 3
In a separate medium bowl, whisk together the flour, baking soda, and salt. This ensures the leavening agent and salt are evenly distributed throughout the flour. The baking soda will react with the acidity in the bananas to create a tender crumb and help the bread rise. Once mixed, gently fold the dry ingredients into the wet banana mixture using a rubber spatula or wooden spoon. Stir just until the flour is incorporated and you no longer see dry streaks - the batter will be thick and slightly lumpy. This is critical: do not overmix or beat the batter vigorously. Overmixing develops the gluten in the flour, which will result in a tough, dense, bread-like texture instead of the tender, cake-like crumb you want. A few lumps in the batter are perfectly fine.
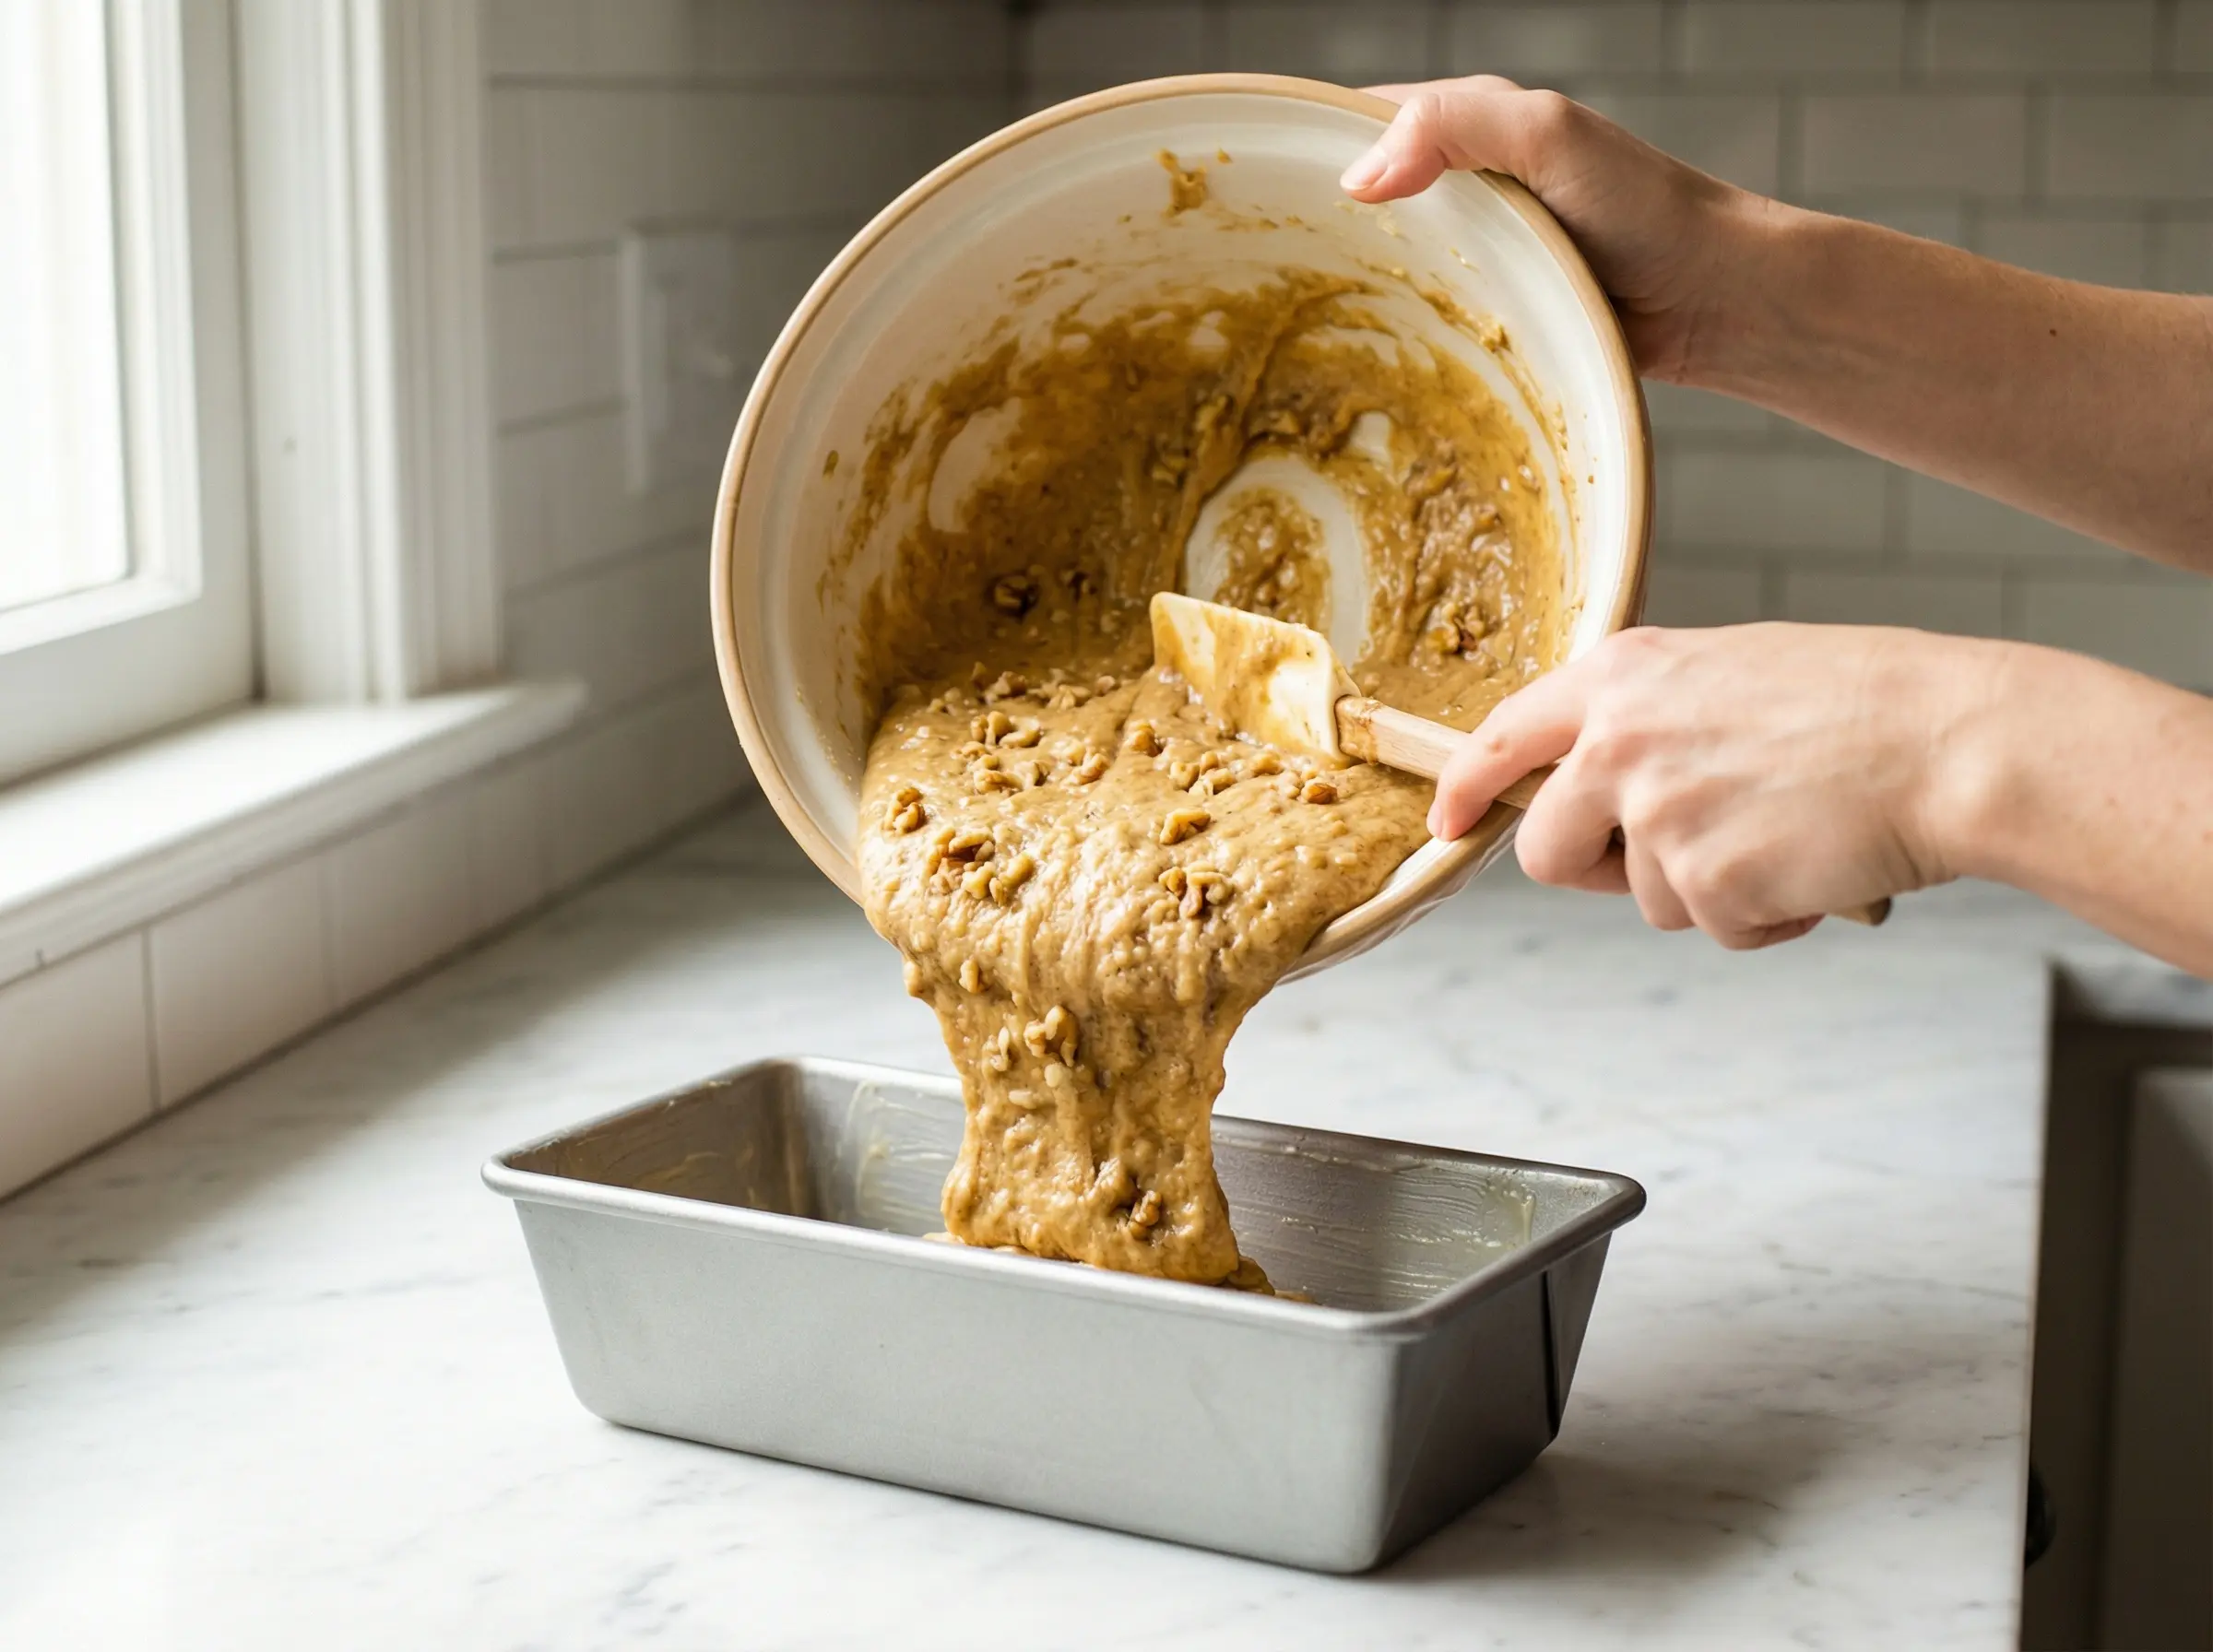
Step 4
If you are adding walnuts or other mix-ins like chocolate chips, gently fold them into the batter now with just a few strokes. Pour the batter into your prepared loaf pan, using a spatula to scrape all the batter from the bowl and smooth the top. The batter should fill the pan about two-thirds full. Give the pan a gentle tap on the counter to release any air bubbles. At this point, you can optionally sprinkle a little extra sugar on top for a slightly crunchy crust, or place a few banana slices on top for decoration, though this is purely aesthetic and not necessary.
Step 5
Place the loaf pan in the preheated oven and bake for 55-65 minutes. The baking time can vary depending on your oven and the moisture content of your bananas, so start checking around the 55-minute mark. The banana bread is done when the top is deeply golden brown, the edges are pulling away slightly from the pan, and a toothpick or cake tester inserted into the center comes out clean or with just a few moist crumbs attached. If the toothpick comes out with wet batter, continue baking and check again in 5-minute intervals. If the top is browning too quickly but the center is not done, tent the pan loosely with aluminum foil for the remaining baking time.
Step 6
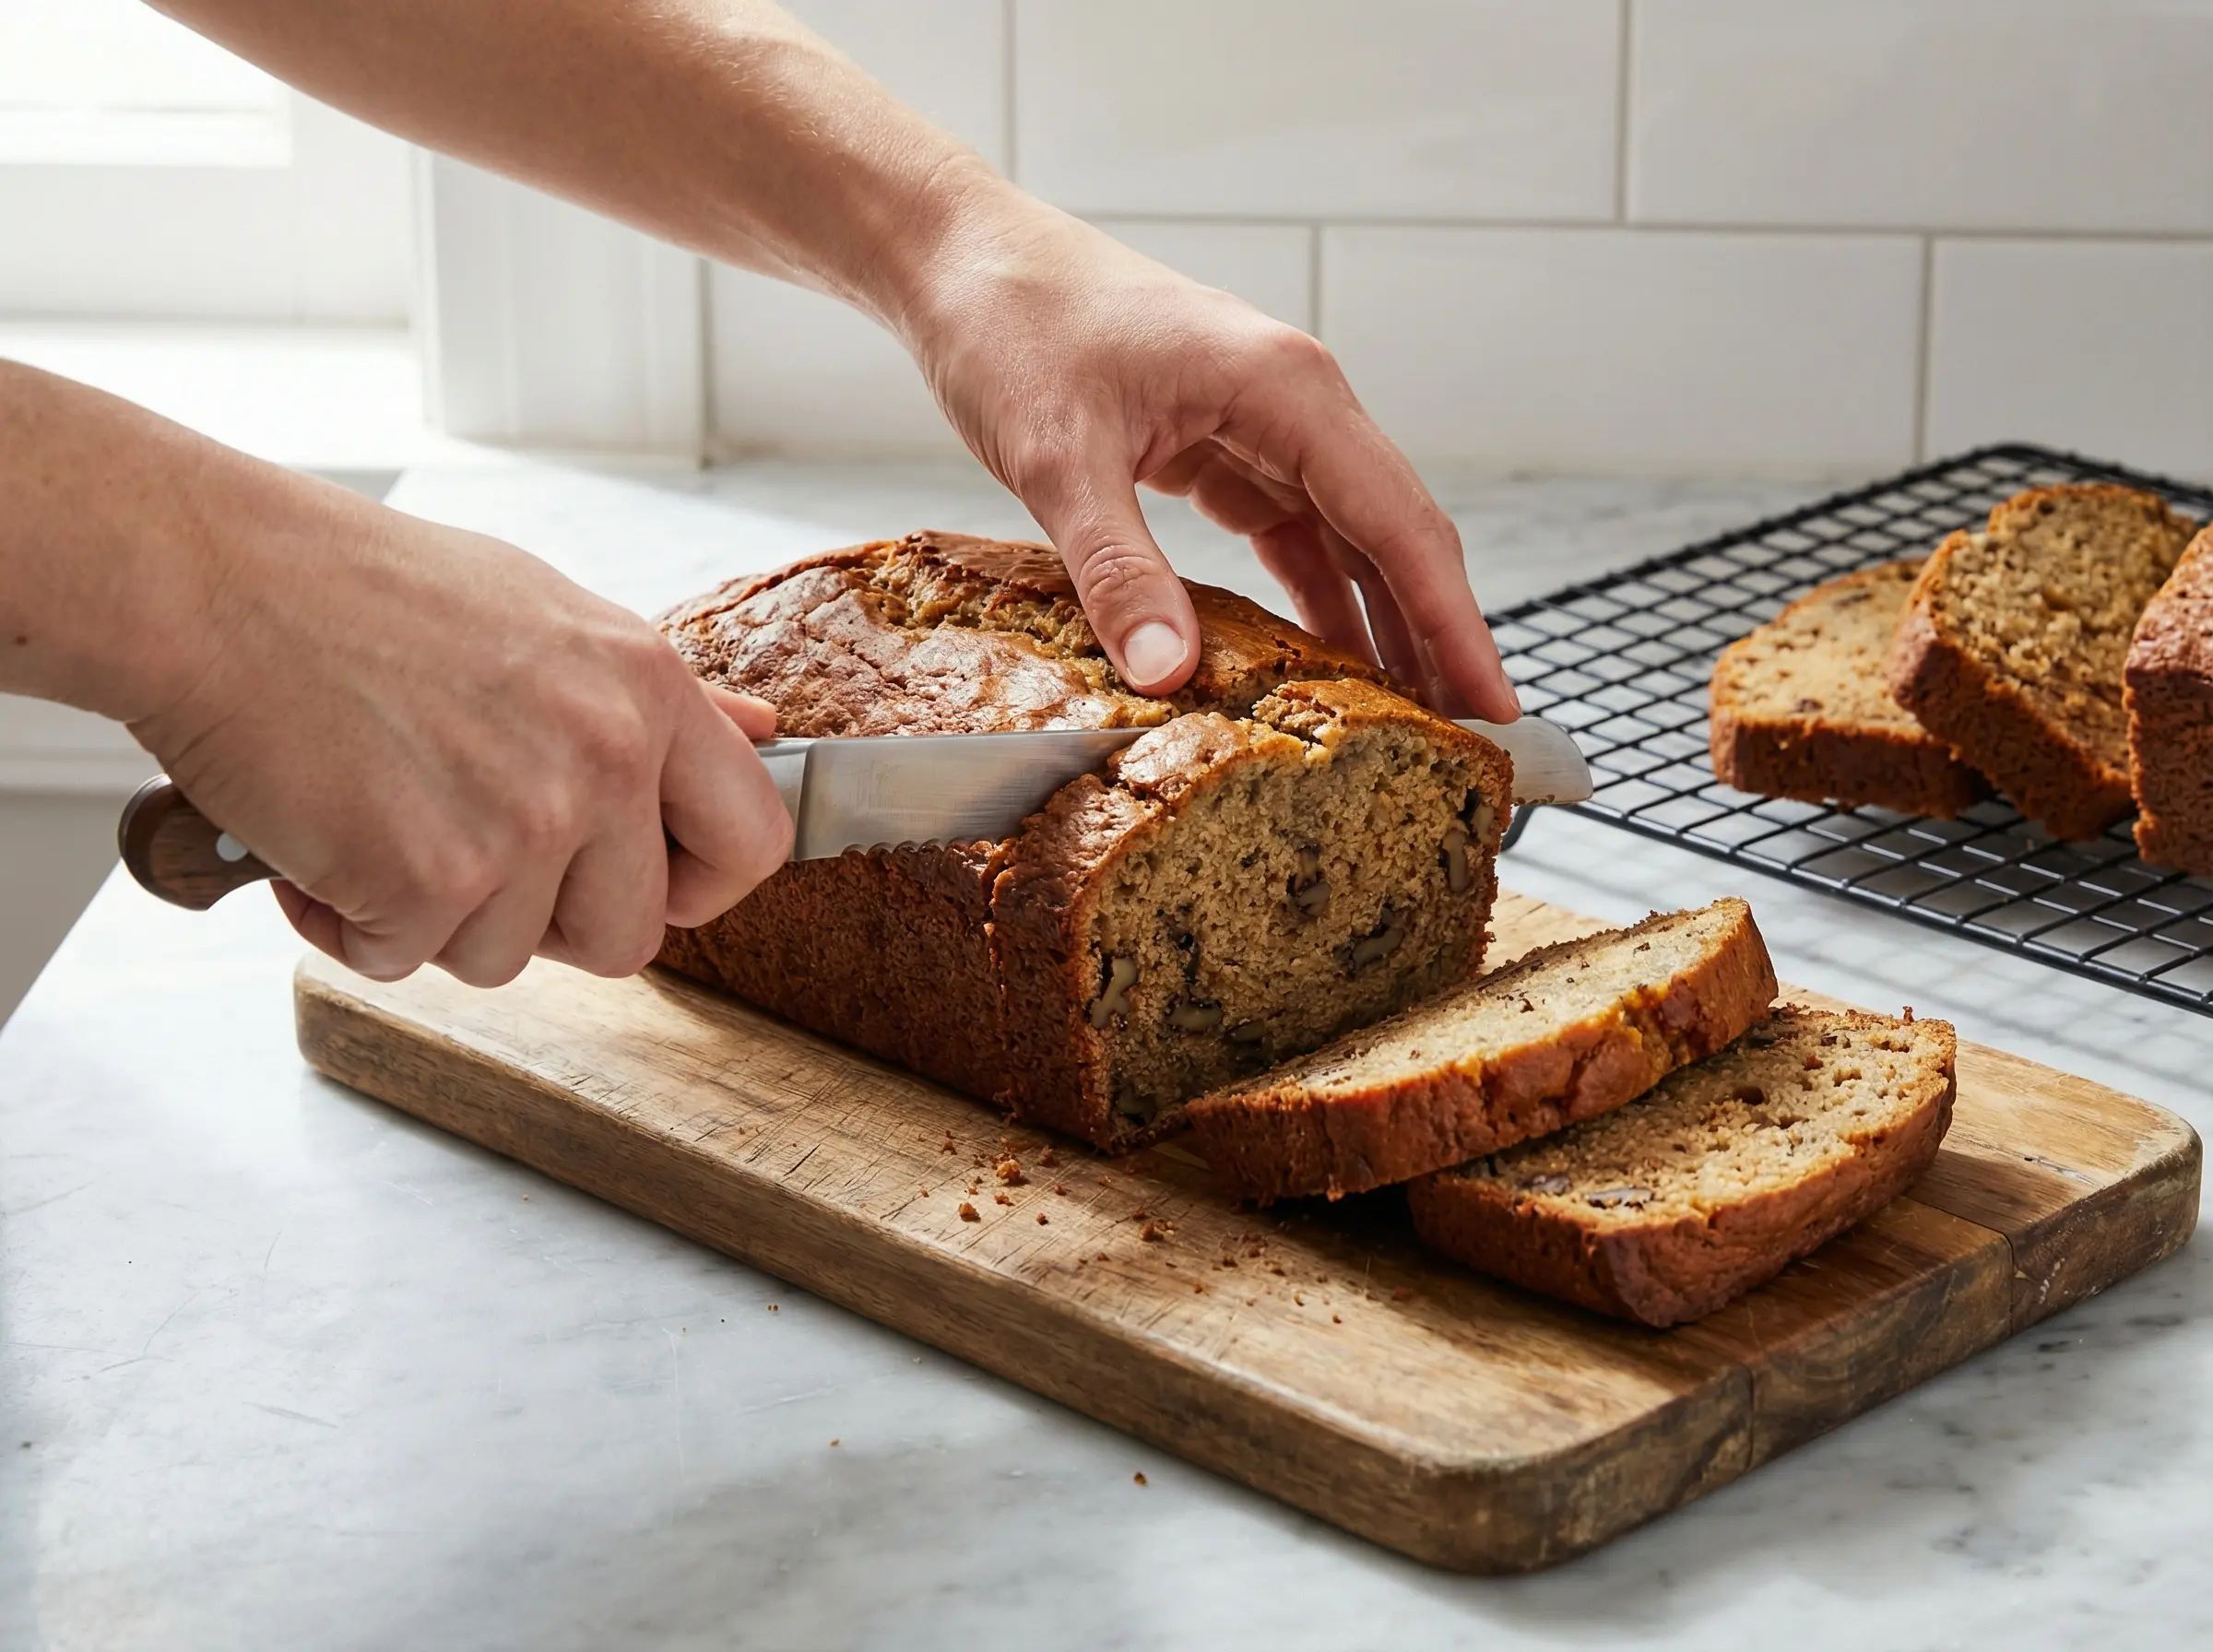
Remove the banana bread from the oven and let it cool in the pan for about 10-15 minutes. This cooling period allows the bread to set and makes it easier to remove from the pan without breaking. After 10-15 minutes, carefully turn the loaf out onto a wire cooling rack by inverting the pan. If you used parchment paper, simply lift the bread out by the paper edges. Let the bread cool completely before slicing - this can take 30-45 minutes. Cutting into warm banana bread can cause it to be gummy and fall apart. Once cooled, use a serrated bread knife to slice it into thick pieces. Banana bread tastes amazing fresh, but many people believe it is even better the next day after the flavors have had time to meld. Store wrapped in plastic wrap or in an airtight container at room temperature for up to 4 days, or freeze slices for up to 3 months.
You Might Also Like